SoleSorted v1.0.2.0
SoleSorted documentation
Everything you need to go from a bank CSV and a folder of receipts to tidy records and an accountant-ready export.
SoleSorted is a local Windows desktop application for practical bookkeeping records. It is deliberately smaller and simpler than a full accounting package.
Find what you need
The guide follows the normal SoleSorted workflow. Start at the beginning, or jump directly to the task in front of you.
Install, first run, layout and settings › 2 Work with records
Transactions, receipts, CSV import and rules › 3 Review, export and fix
Reports, accountant packs and troubleshooting ›
Popular topics
1. Set up SoleSorted
1.1 What SoleSorted is for
SoleSorted is for people who need orderly business transaction records without the weight of a full accounting system. It is designed for UK sole traders, freelancers, small side-business owners and small landlords.
Use it to:
- Import transactions from bank CSV files.
- Separate income and expenses and assign categories.
- Keep receipt files with the transactions they support.
- Review category totals for a chosen period.
- Export an organised ZIP pack for your accountant or records.
SoleSorted does not provide payroll, stock control, full double-entry accounting, VAT return submission, direct HMRC filing, or cloud multi-user collaboration.
Use copied data first
Test SoleSorted with copied or sample data until you are comfortable with the workflow. Keep backups and check imported figures and exports before relying on them.
1.2 Download and install
Download the Windows installer from the
SoleSorted download page.
Save the installer, scan it with your anti-virus software, then run
SoleSortedSetup.msi.
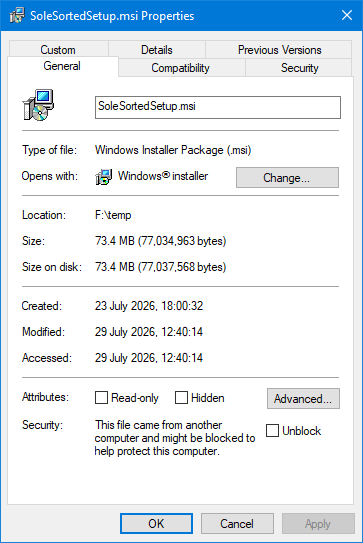
If Windows marks the downloaded installer as blocked:
- Right-click
SoleSortedSetup.msiand choose Properties. - On the General tab, tick Unblock if the option appears.
- Click OK, then run the installer again.
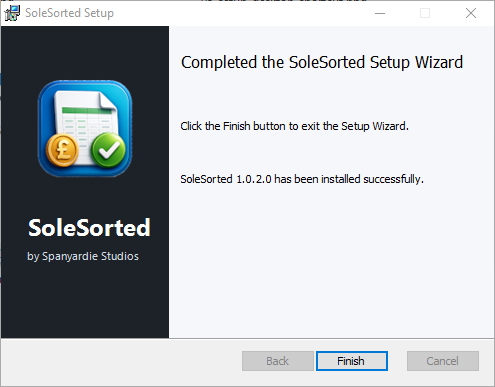
The suggested installation location is under your Windows user profile:
C:\Users\<your-user-name>\AppData\Local\Programs\SoleSortedThe working database and licence information are stored locally. Keep regular backups of your SoleSorted working data and exported files.
1.3 First run and essential settings
On first launch, SoleSorted creates the local working data it needs and opens the main transaction workspace.
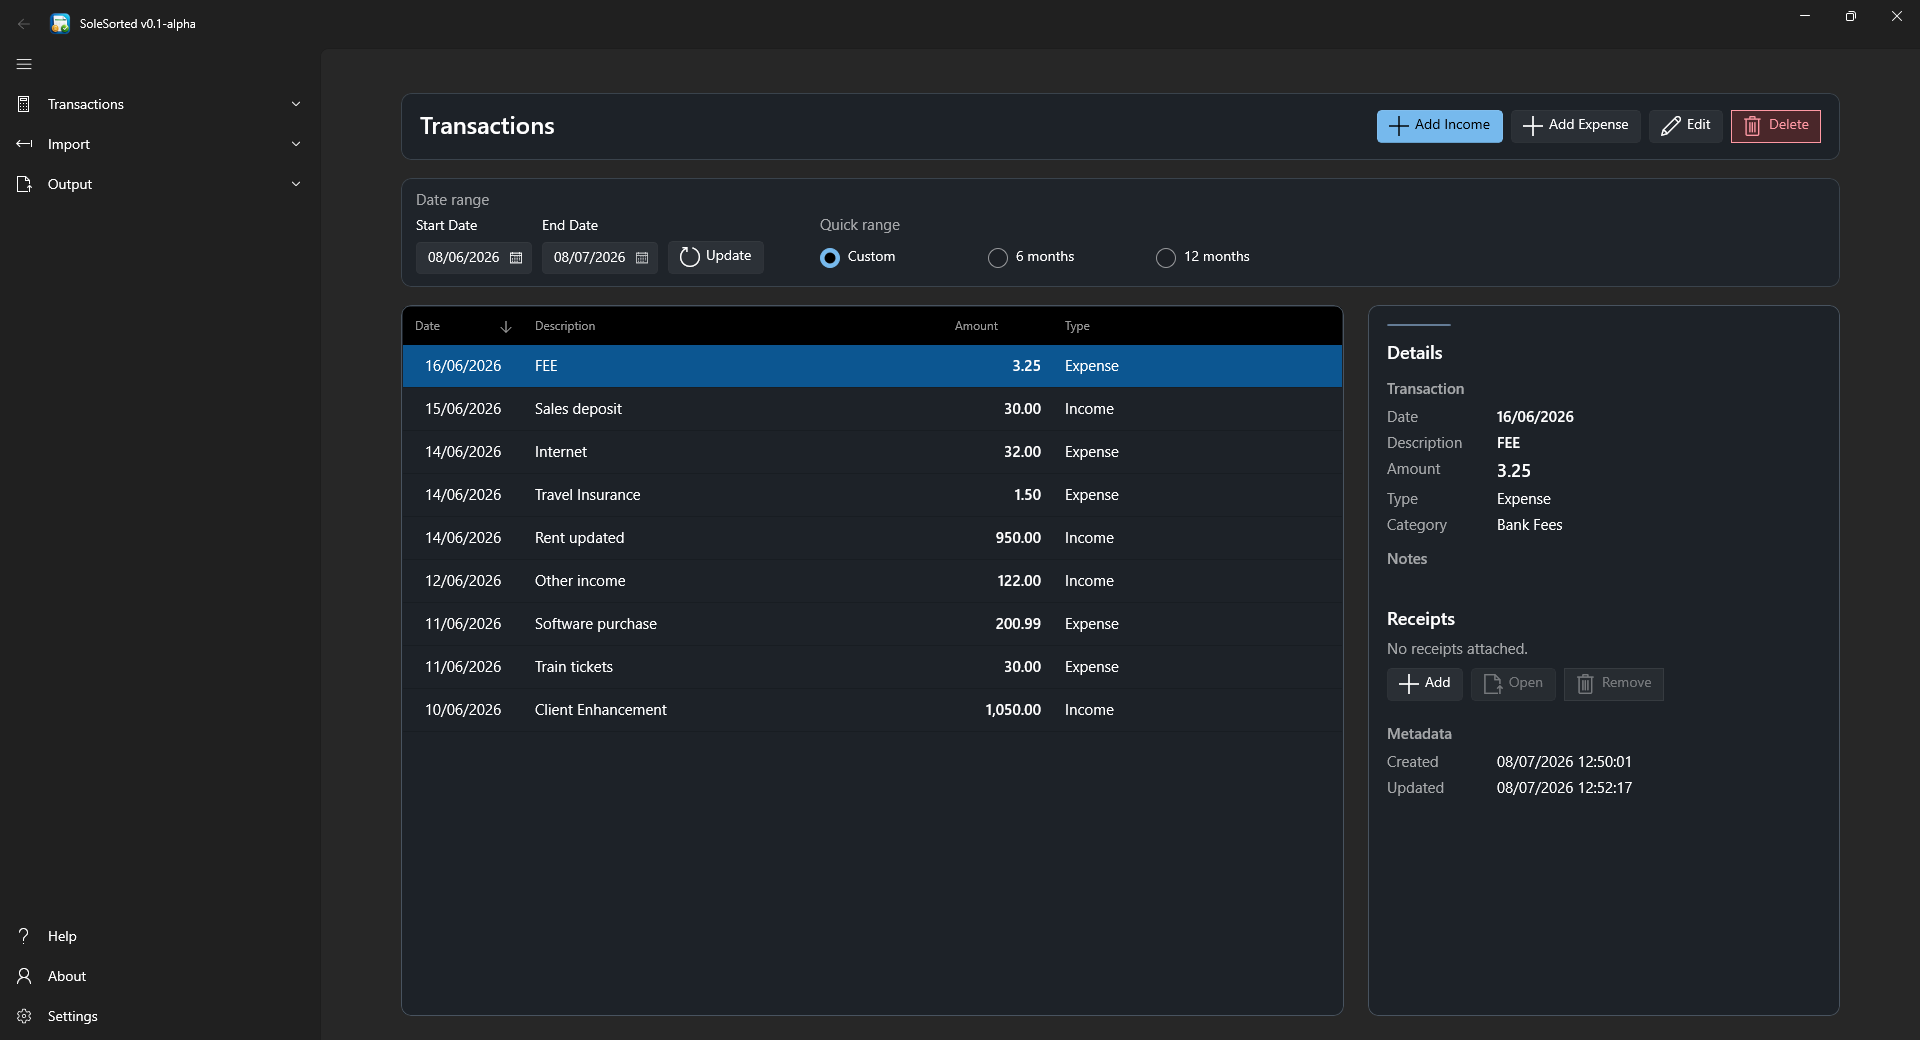
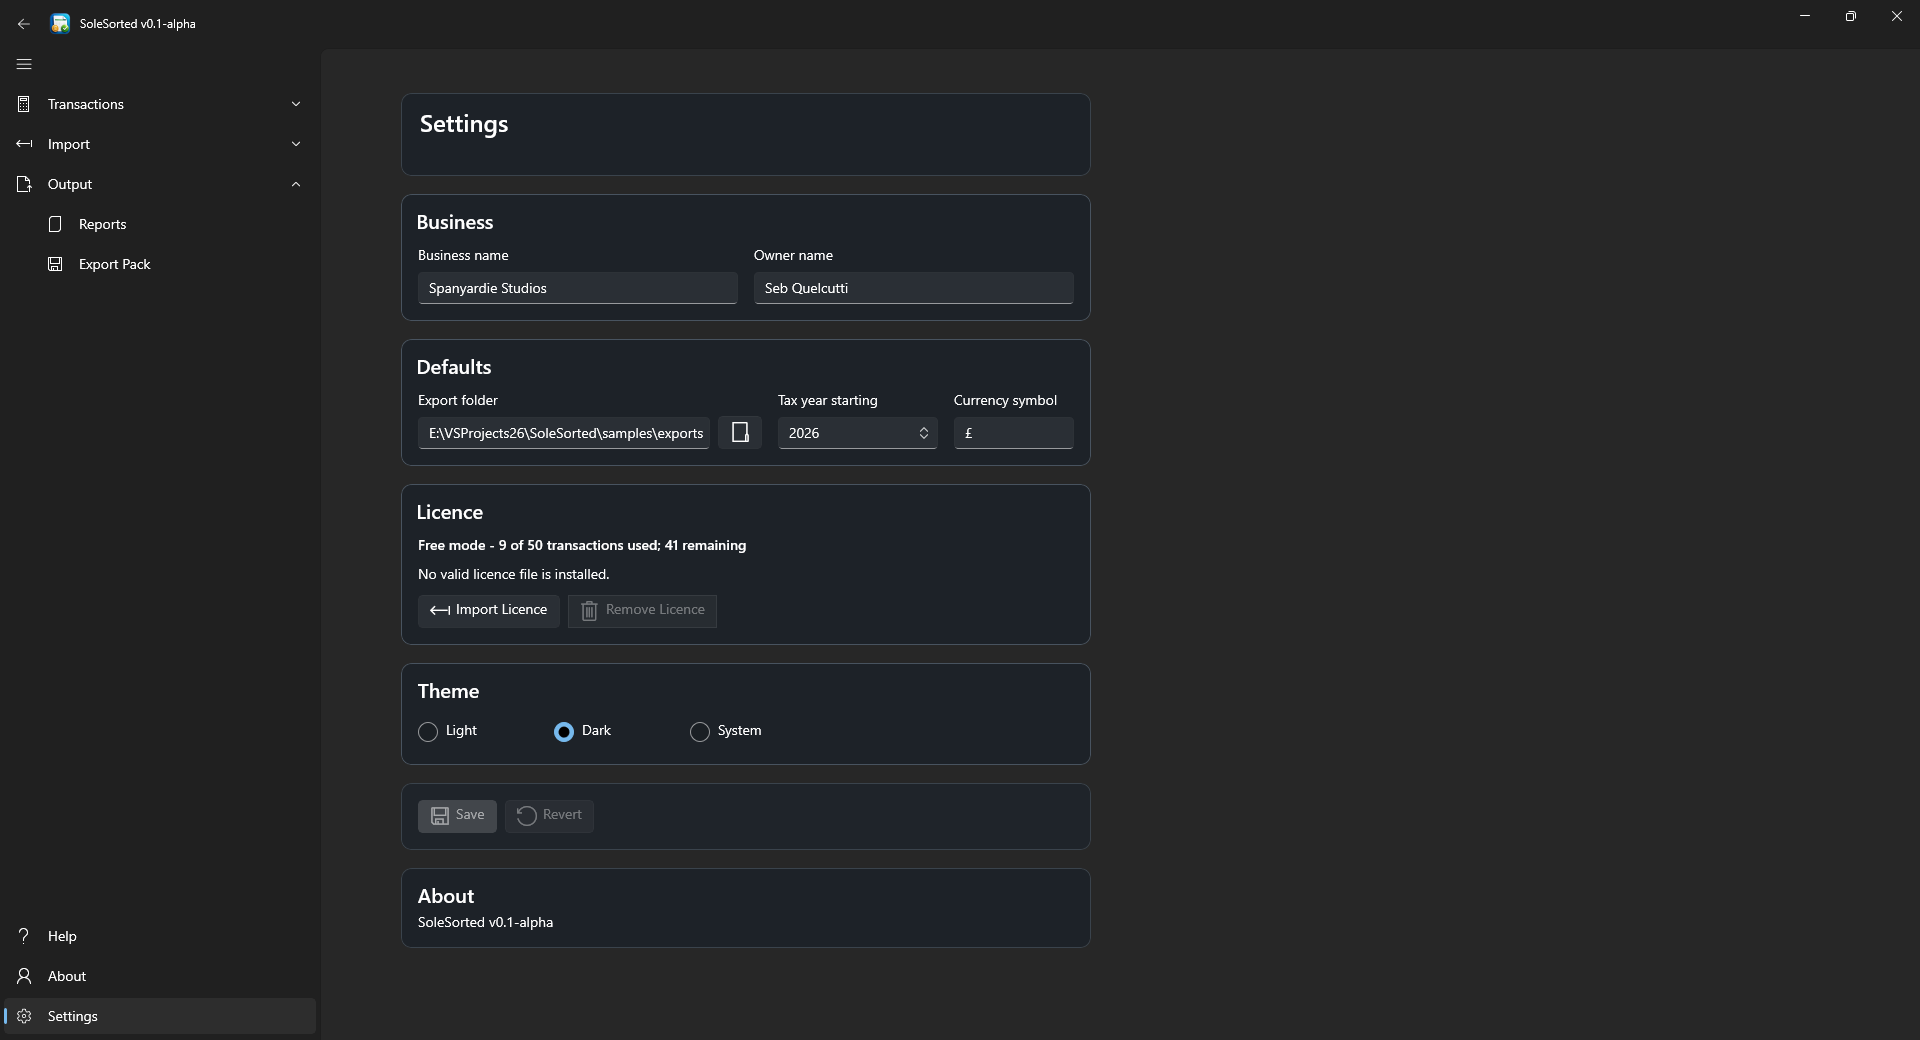
Open Settings from the lower-left navigation area and check:
- Business: business name and owner name.
- Defaults: export folder, tax-year start and currency symbol.
- Licence: current status and, in free mode, the transaction allowance.
- Theme: Light, Dark or System.
The export folder is the default destination for reports and accountant packs. Choose a location you can find and back up easily.
1.4 Find your way around
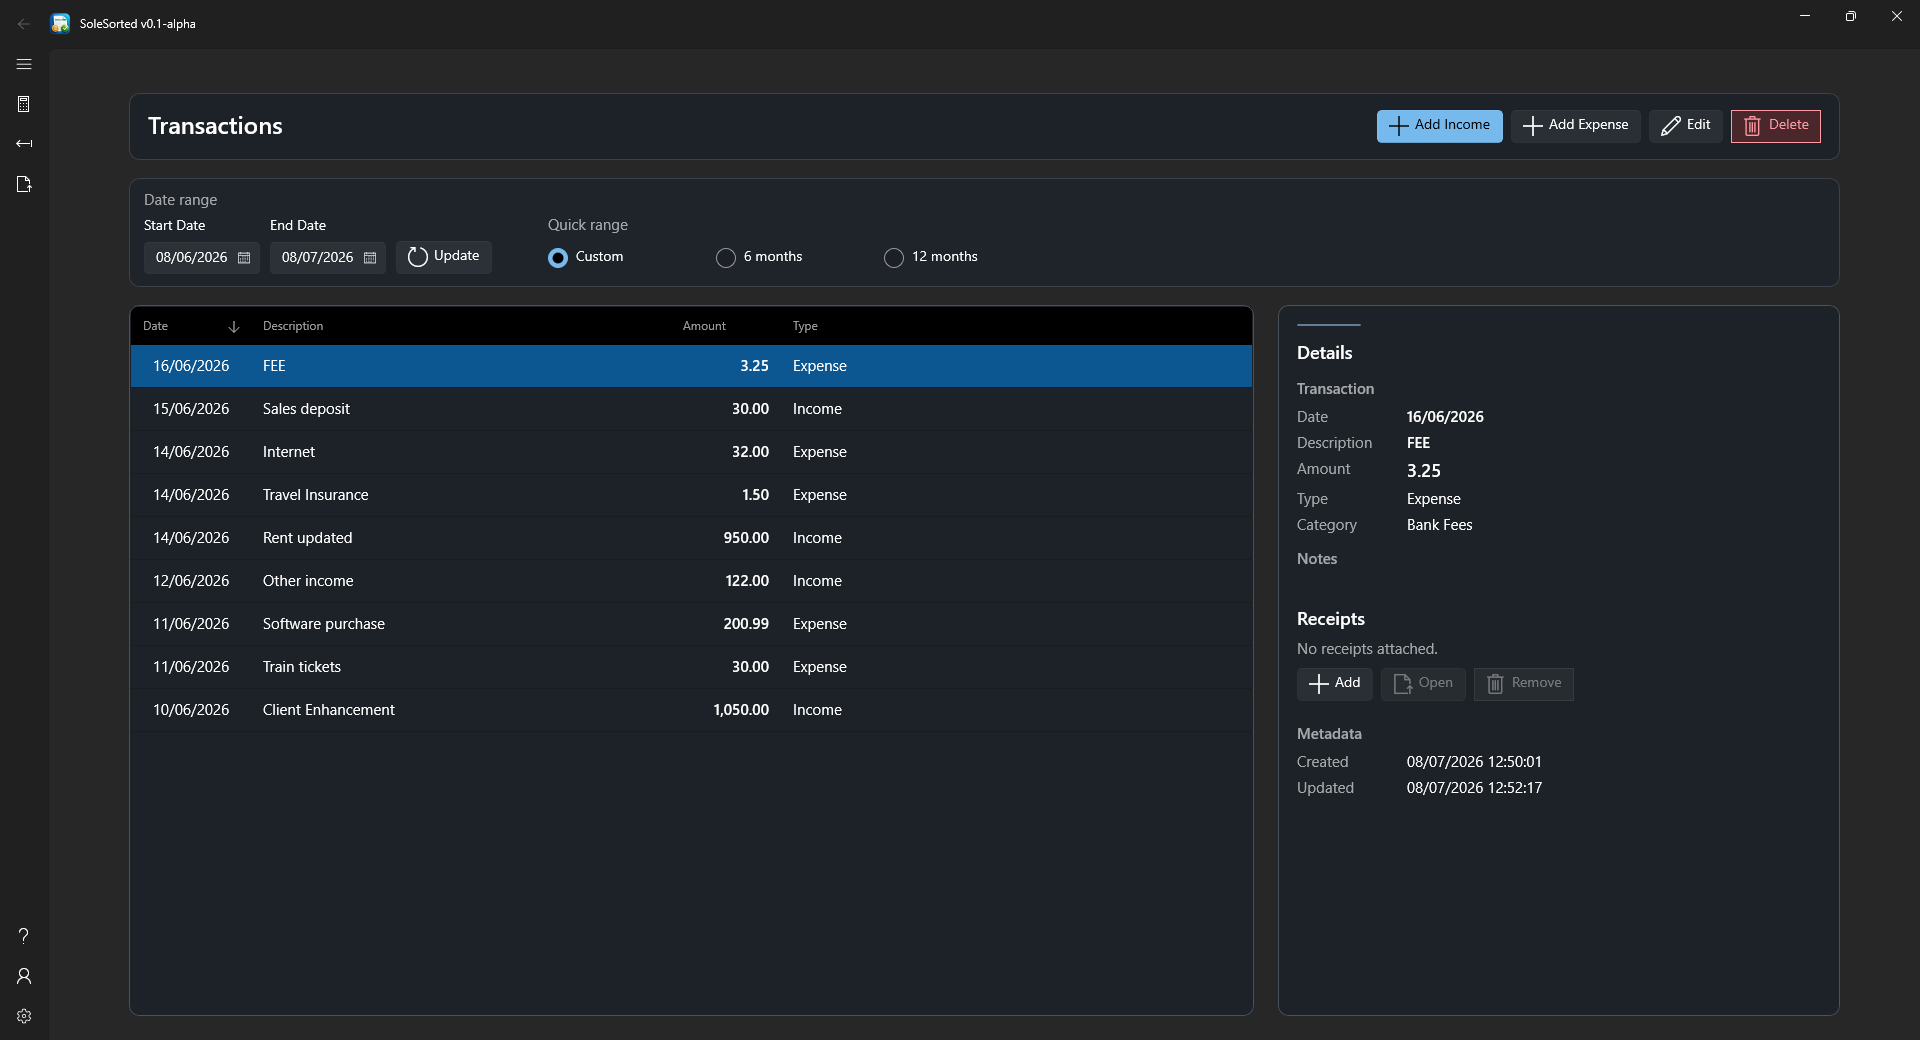
SoleSorted has a left navigation panel and a main workspace. The navigation groups the app by task:
- Transactions: view transactions, add income, add expenses and attach receipts.
- Import: import a bank CSV and manage category rules.
- Output: run reports and export an accountant pack.
- Help, About and Settings: available at the bottom of the panel.
2. Work with records
2.1 View and filter transactions
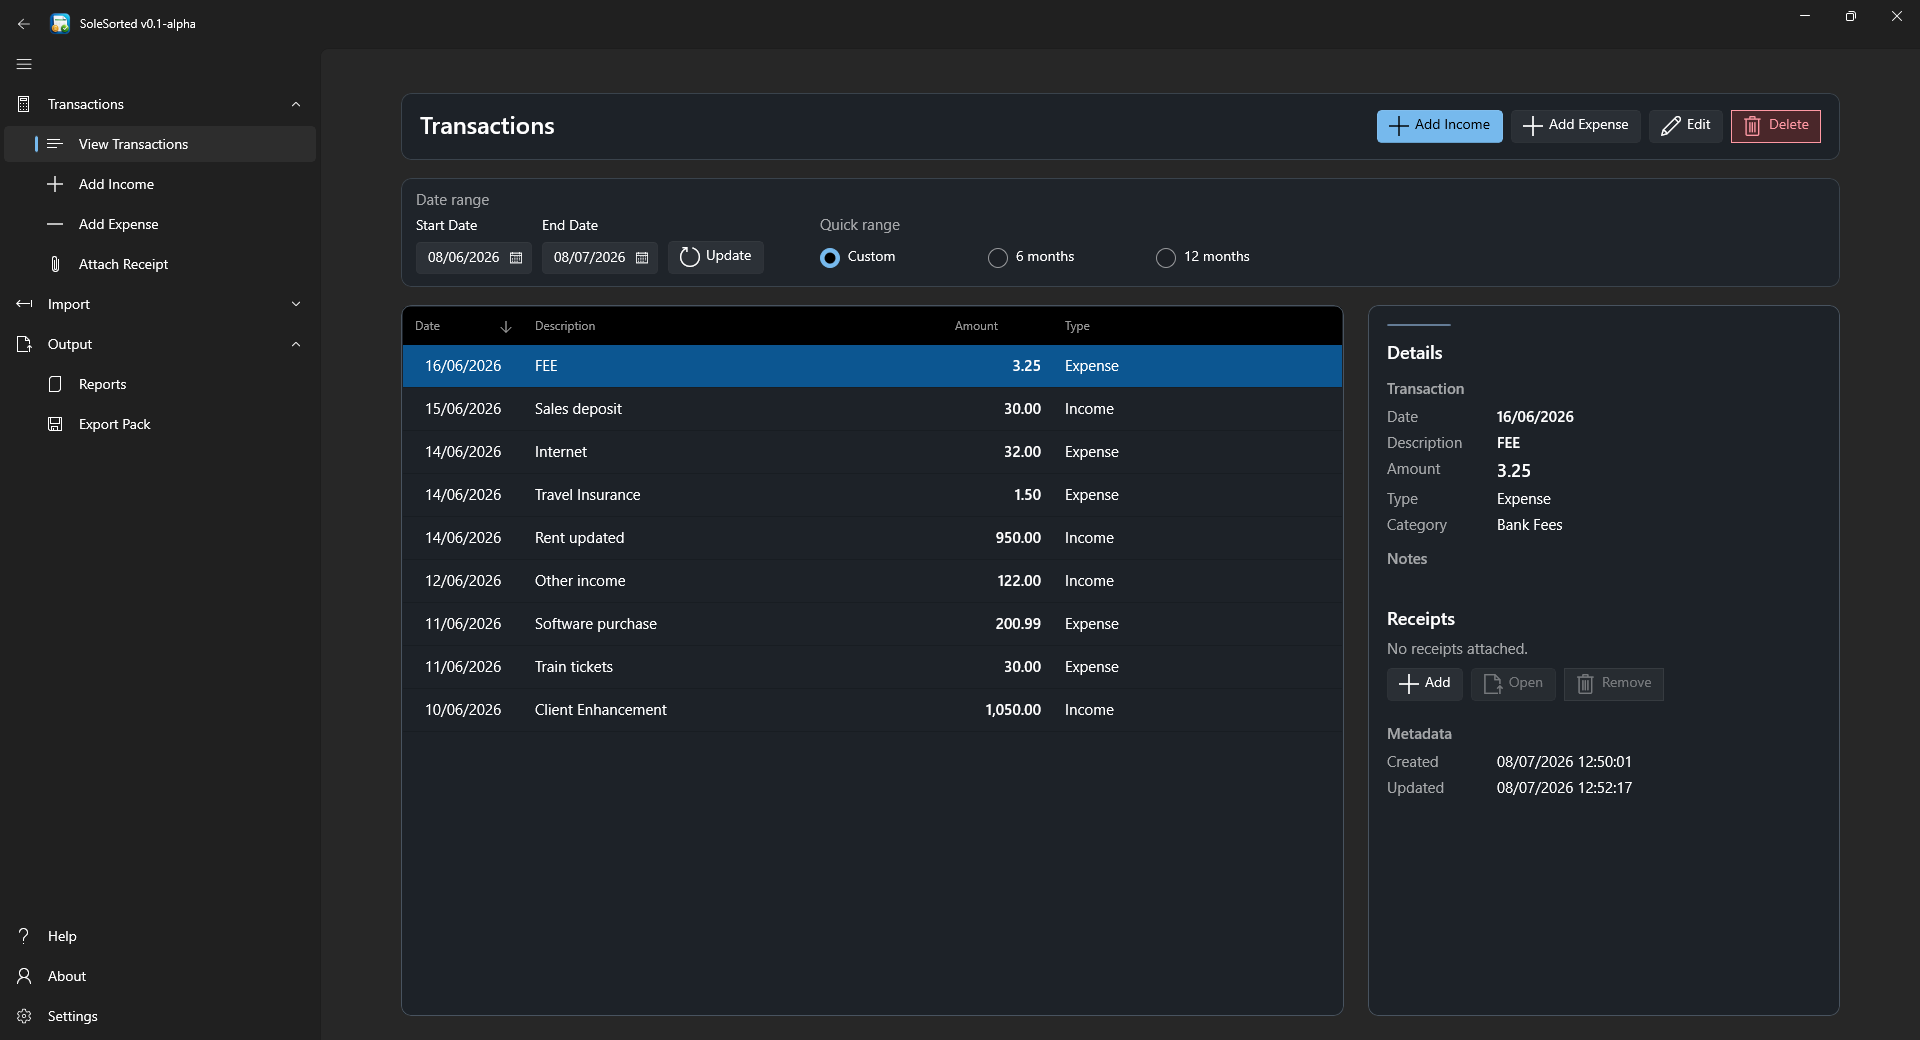
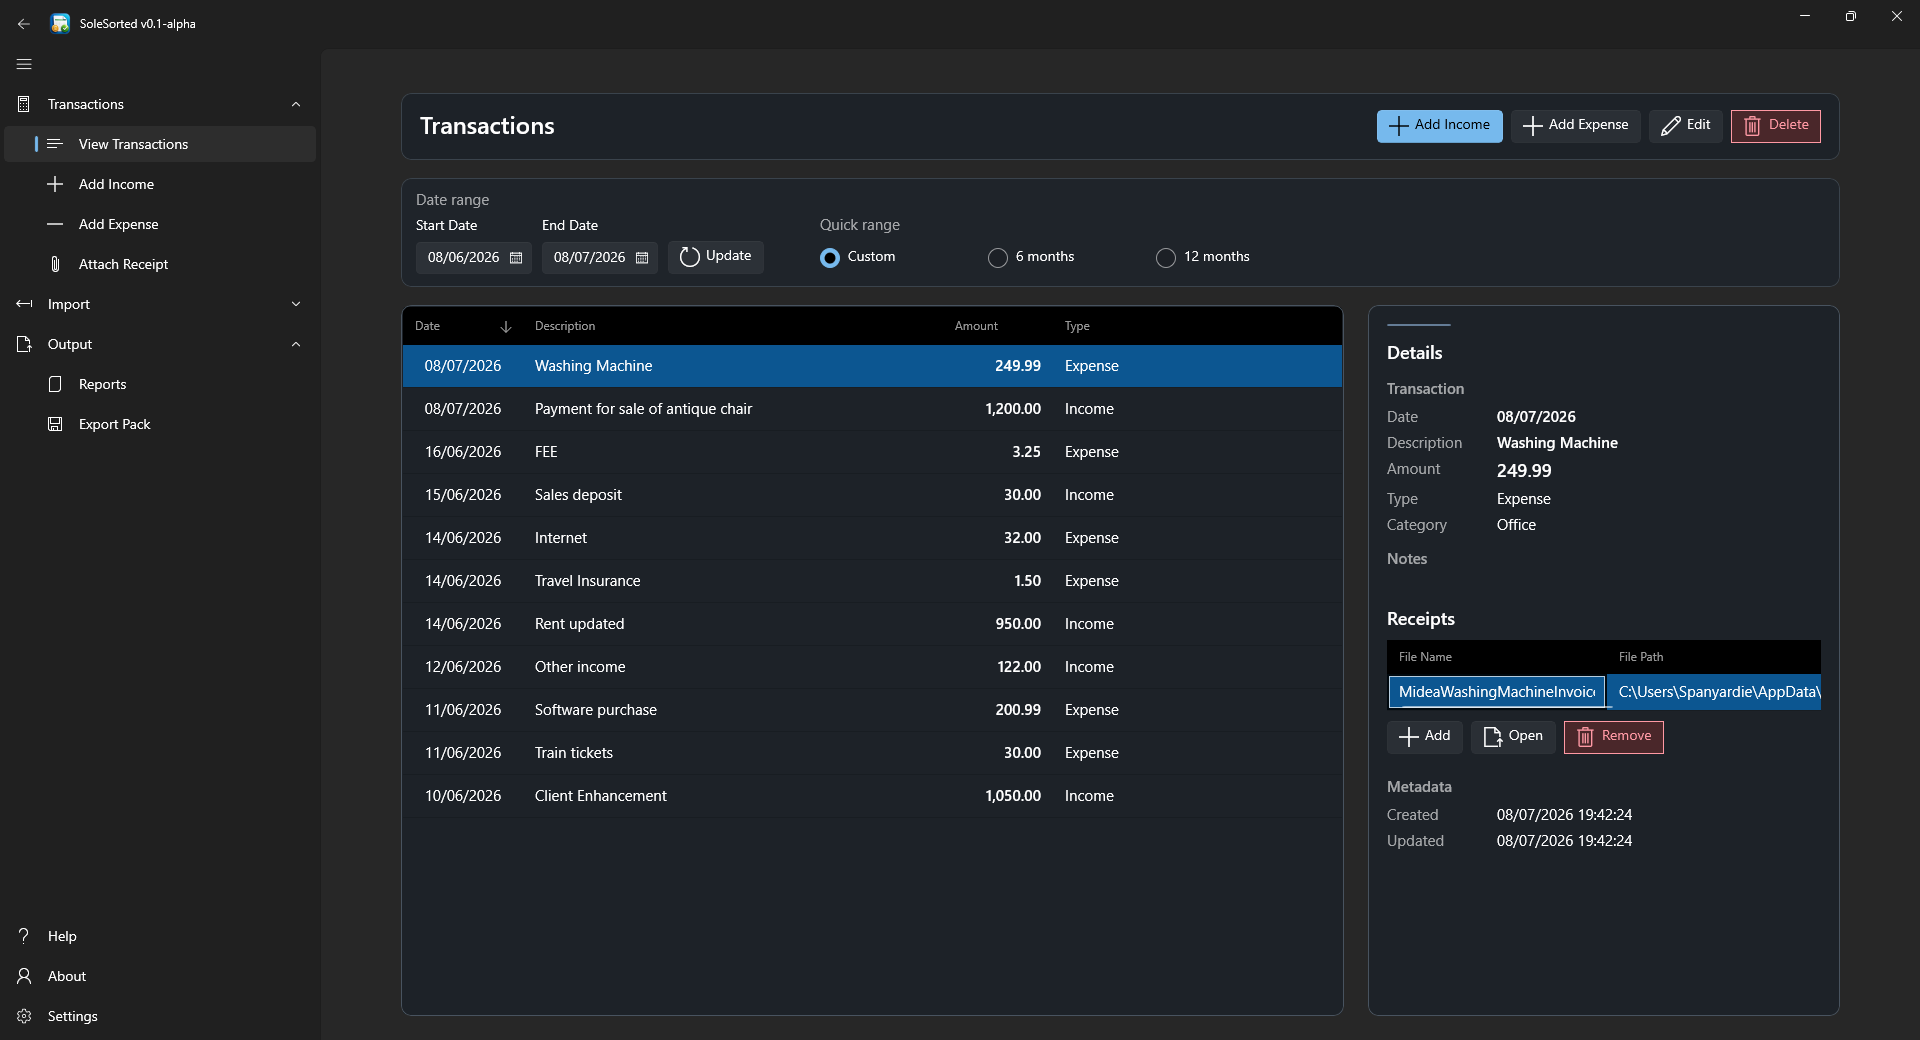
Open Transactions > View Transactions. The page combines a date filter, the transaction grid, details for the selected transaction, receipt controls and created/updated timestamps.
Use a custom start and end date, or choose a quick range such as six or twelve months. Click Update after changing a custom date range.
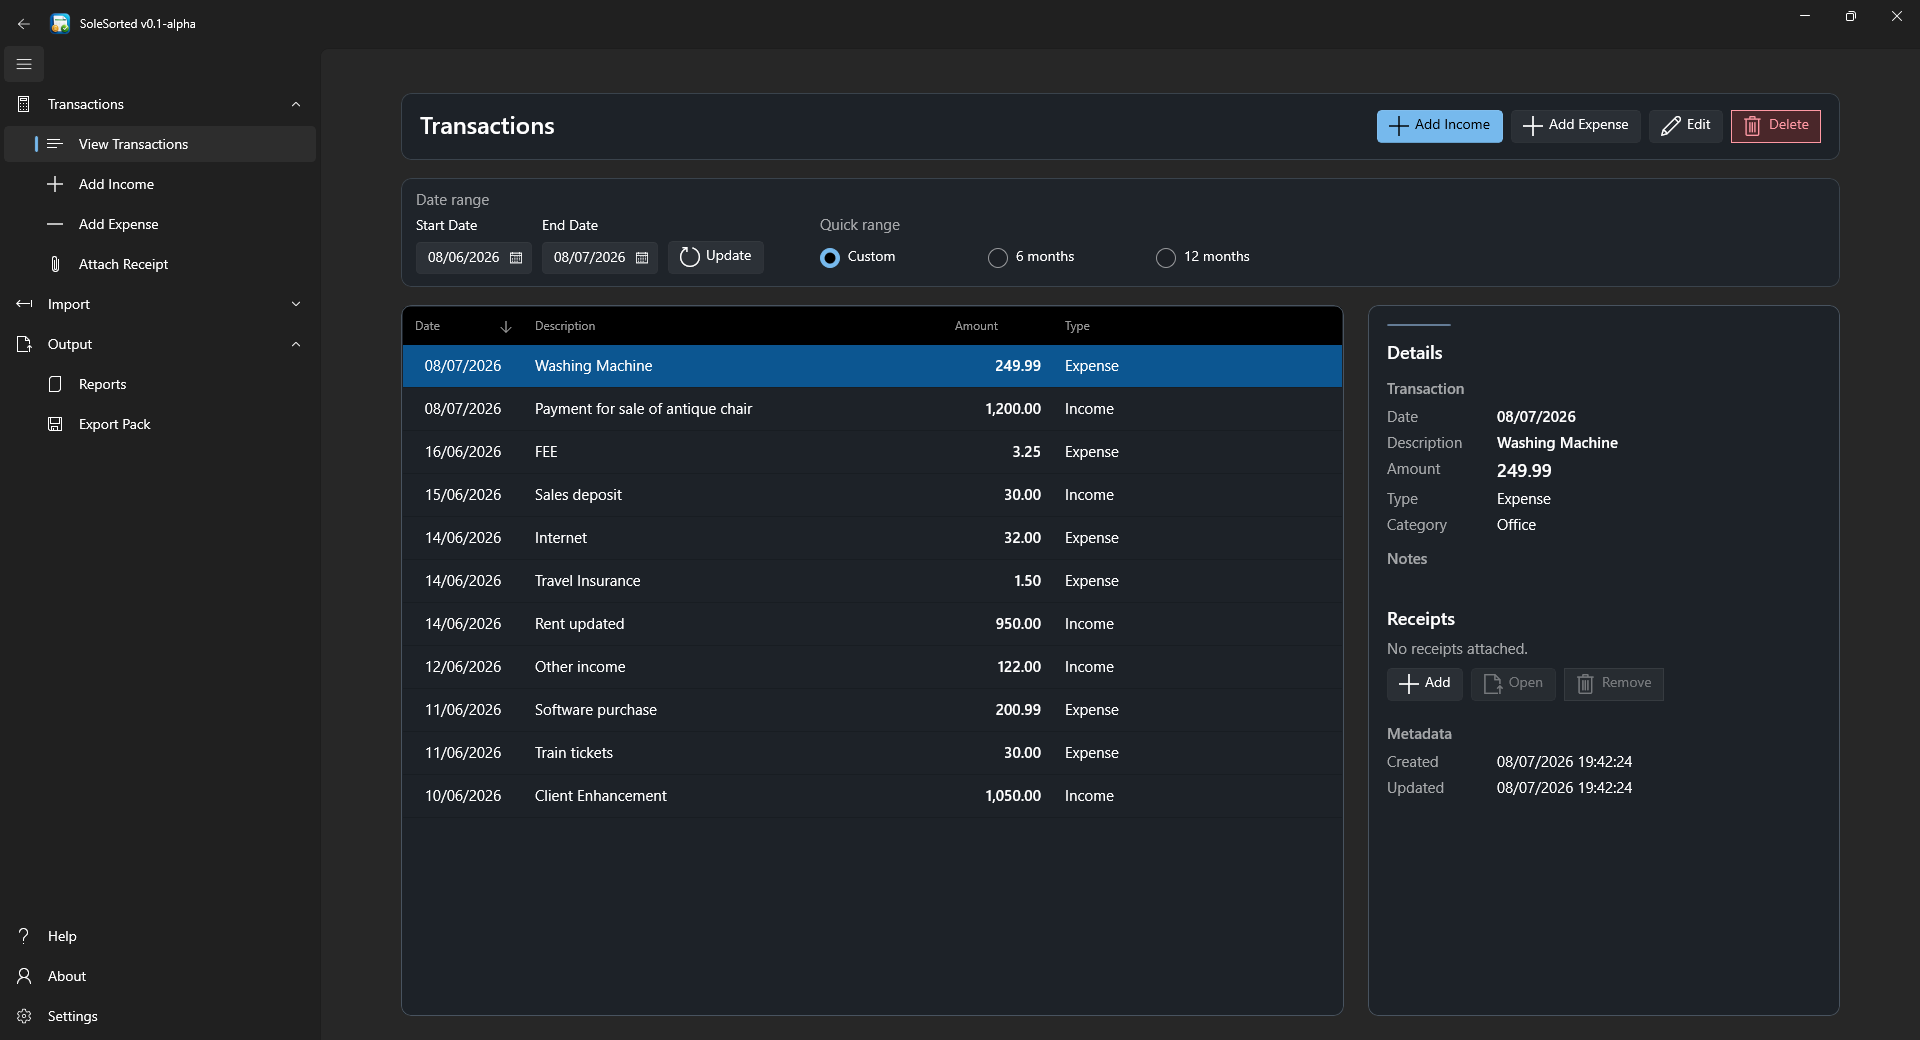
The grid shows the transaction date, description, amount and type. The details panel adds the category, notes, receipts and audit timestamps.
2.2 Add, edit or delete a transaction
The Add Income, Add Expense and Edit screens use the same core fields: date, amount, description, type, category, notes and receipts.
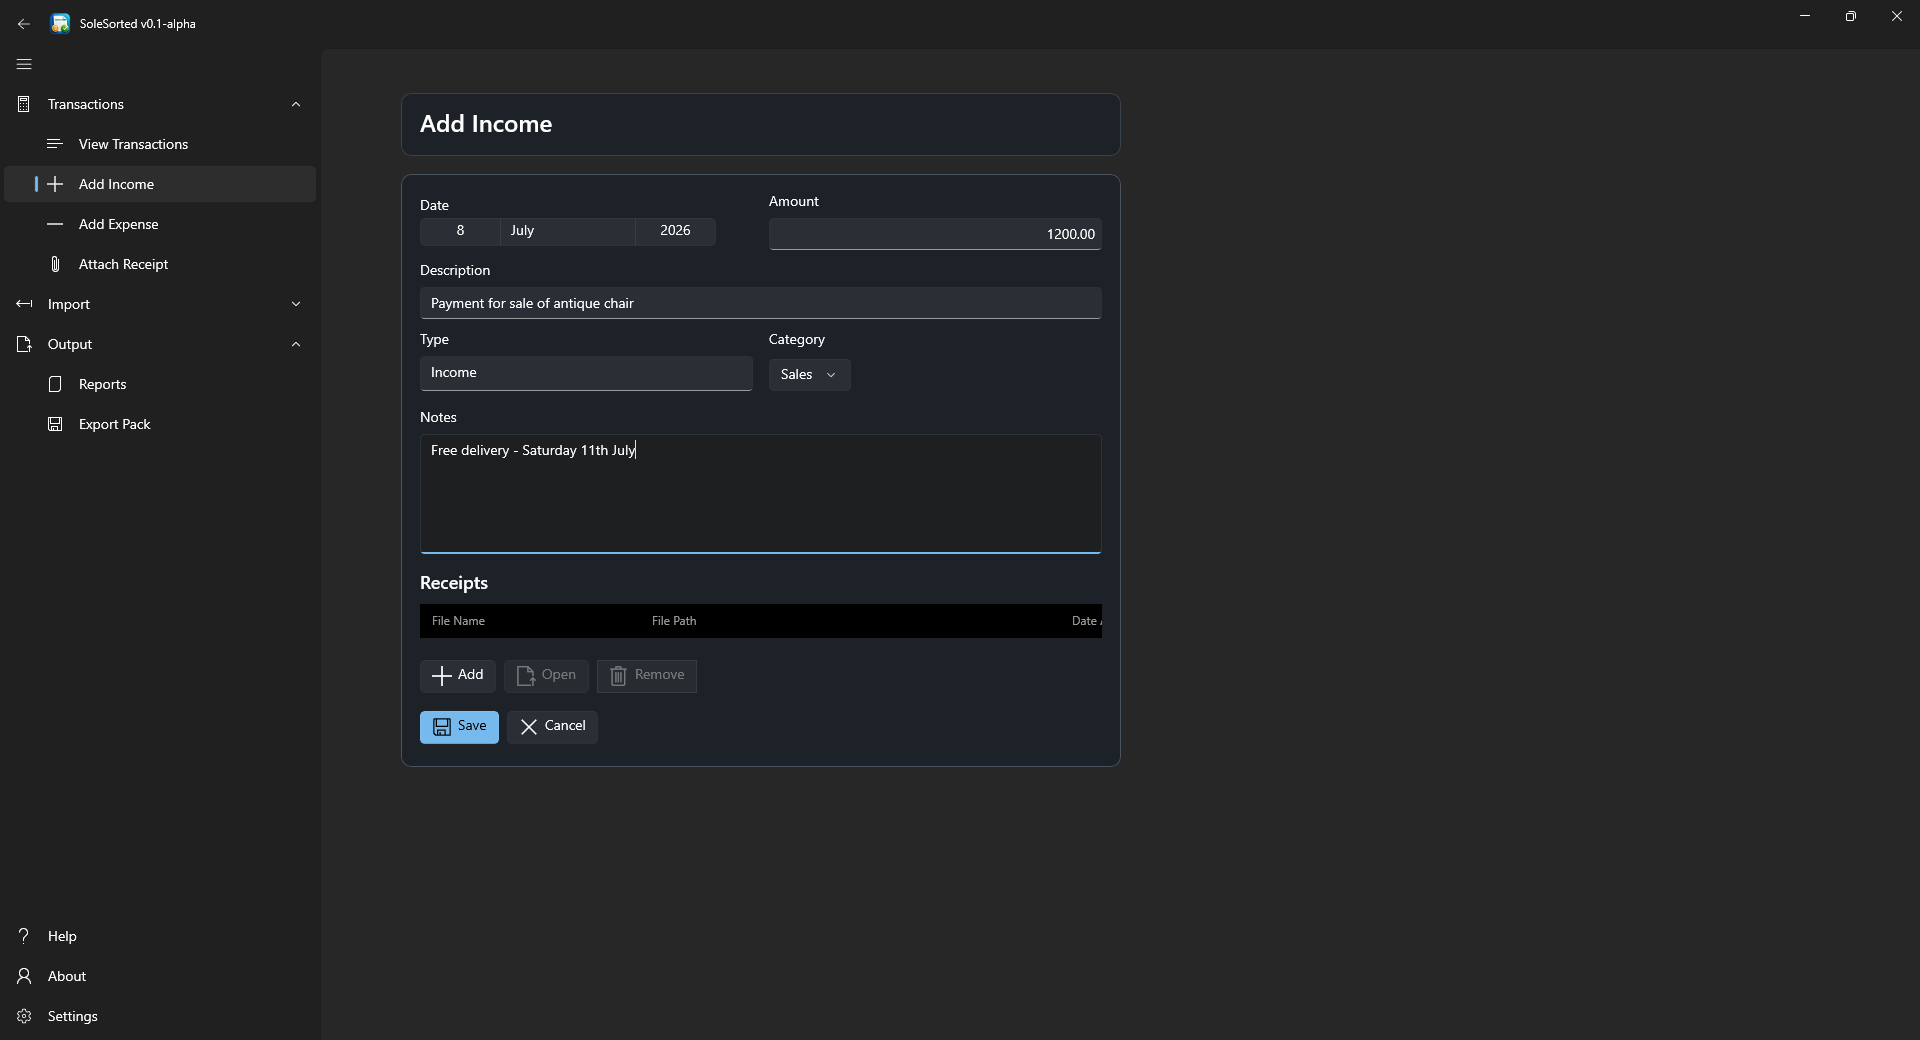
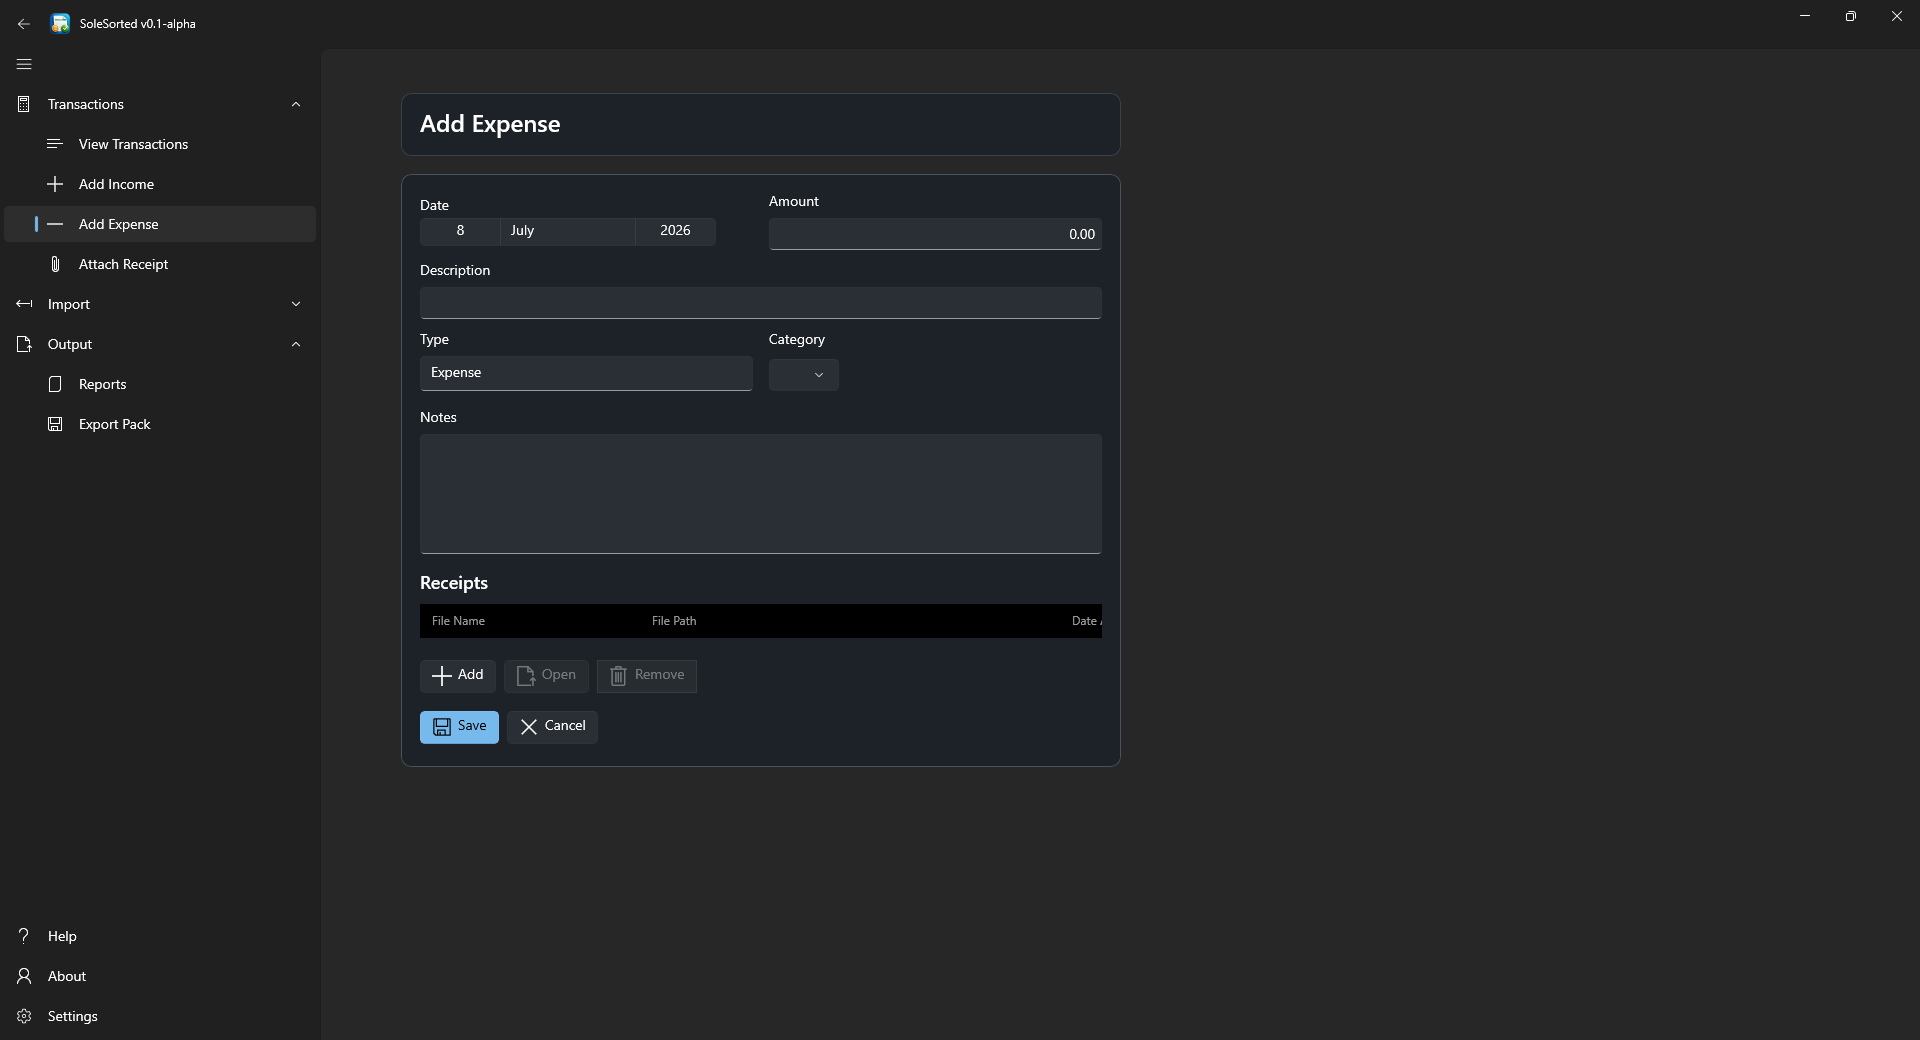
- Choose Add Income or Add Expense, enter the details, then click Save.
- To edit, select a transaction, click Edit, make the changes and save.
- To delete, select the transaction and click Delete. Check the selected row carefully before confirming.
Receipt handling is explained once in Attach and manage receipts. The receipt controls work the same way wherever they appear.
2.3 Attach and manage receipts
A receipt belongs to an individual transaction. You can manage receipts from the transaction details panel or while adding or editing a transaction.
- Select or edit the transaction.
- In Receipts, click Add.
- Choose the receipt image or PDF in the Windows file picker.
- Save the transaction if you are in the add/edit screen.
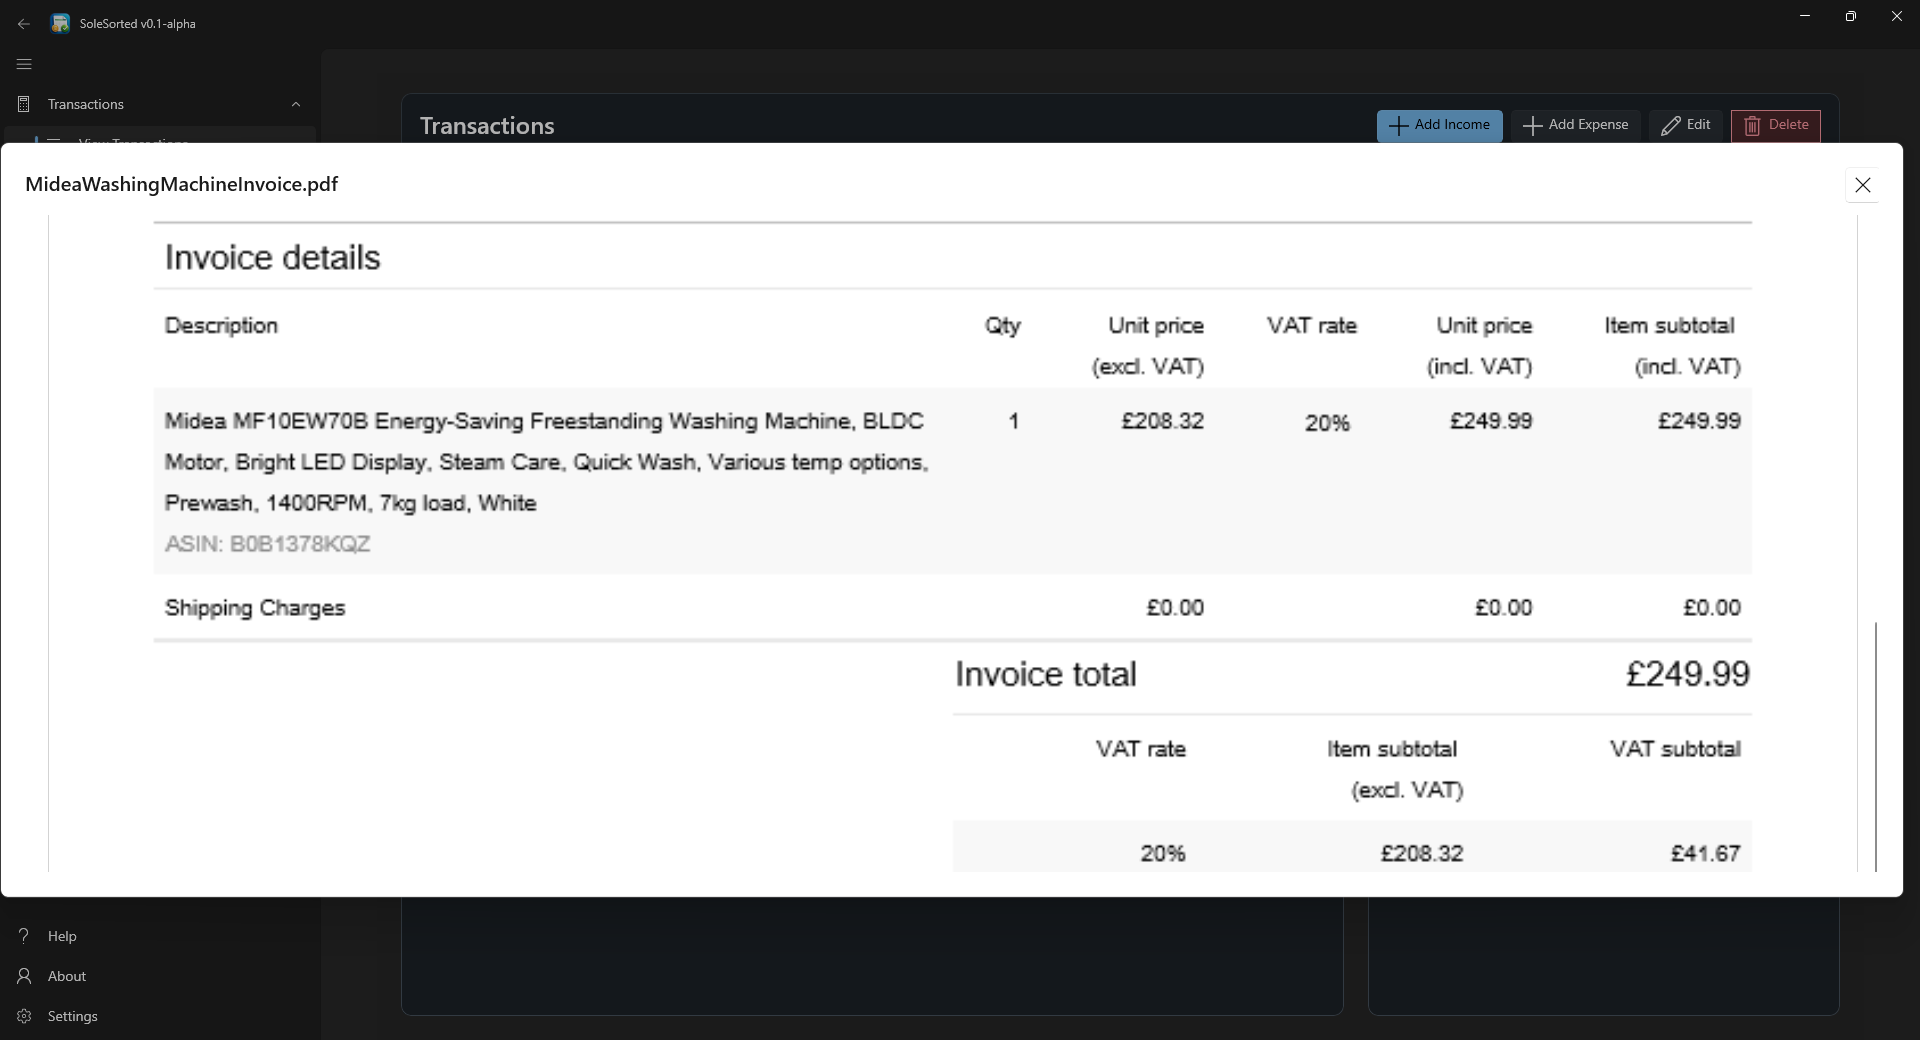
To remove an attachment, select it and click Remove, then confirm. This removes the receipt from the transaction; it does not delete or otherwise change the transaction itself.
2.4 Import a bank CSV
Open Import > Import CSV. Importing is a four-stage process: choose the file, map its columns, preview the result, then import.
Choose the CSV file
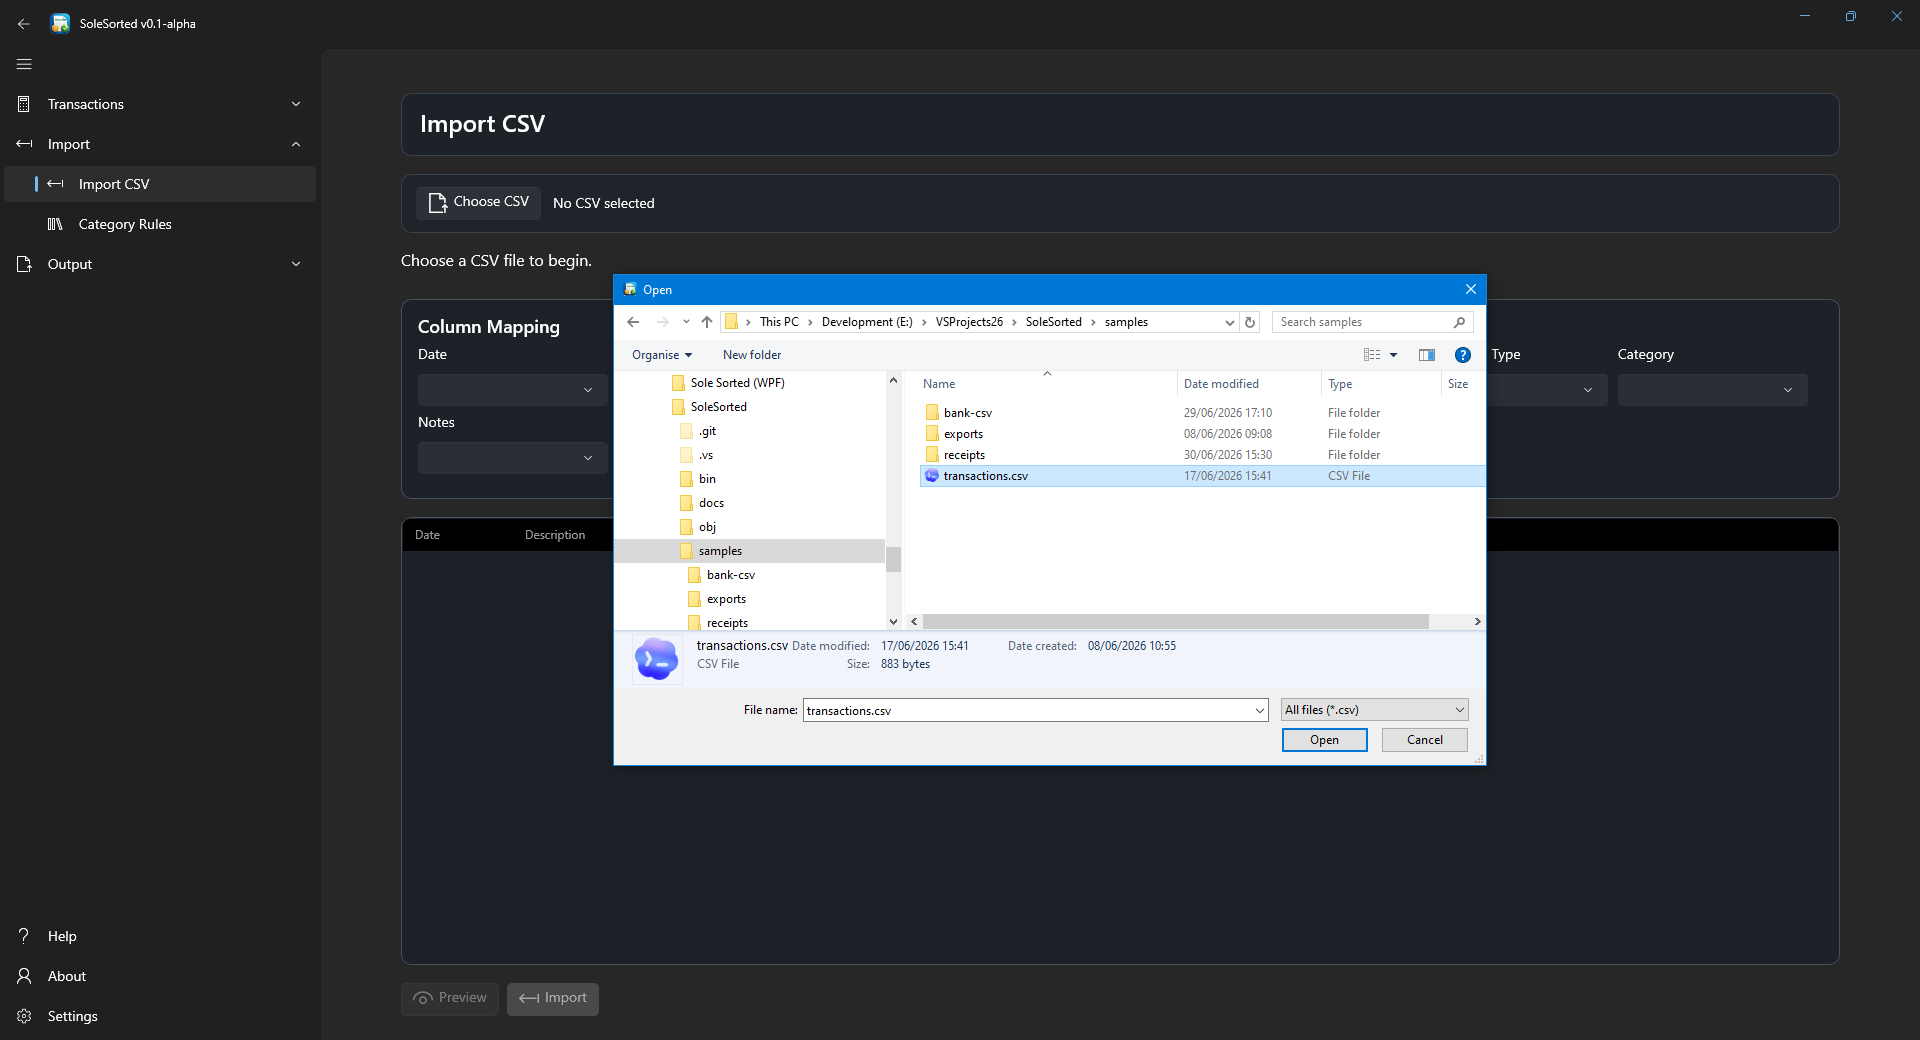
Export the required date range from your bank as a CSV file. In SoleSorted, click Choose CSV and select it.
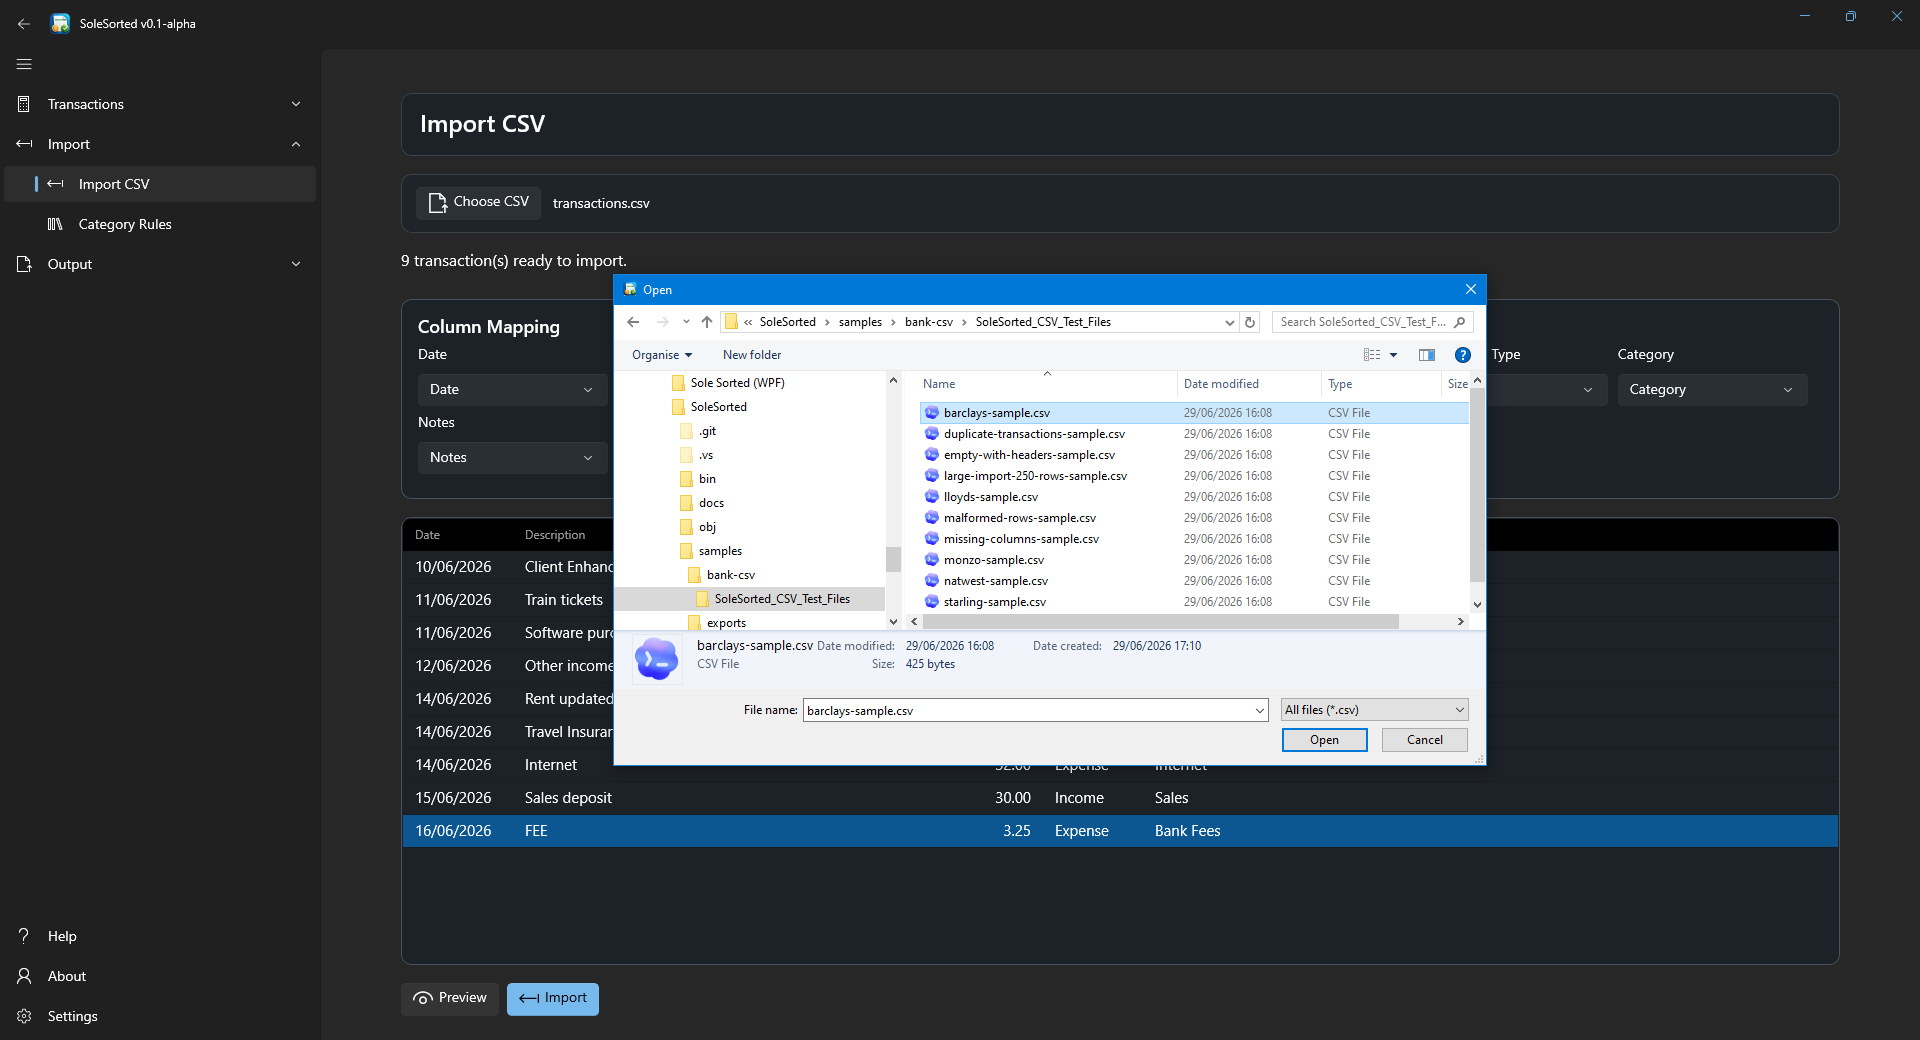
Map the columns
Bank files use different headings. Tell SoleSorted which CSV column supplies each field.
| SoleSorted field | How to map it |
|---|---|
| Date | Map the transaction or posting date. |
| Description | Map the payee, narrative or transaction description. |
| Amount | Use for a single signed amount column. |
| Money In / Money Out | Use these instead of Amount when the bank supplies separate credit and debit columns. |
| Type, Category and Notes | Optional; map them when the source file contains useful values. |
| Created At / Updated At | Use only when importing data that already contains SoleSorted-style timestamps. |
Use one amount style
Map either a single Amount column or separate Money In and Money Out columns. Do not map both styles unless the source file genuinely requires it.
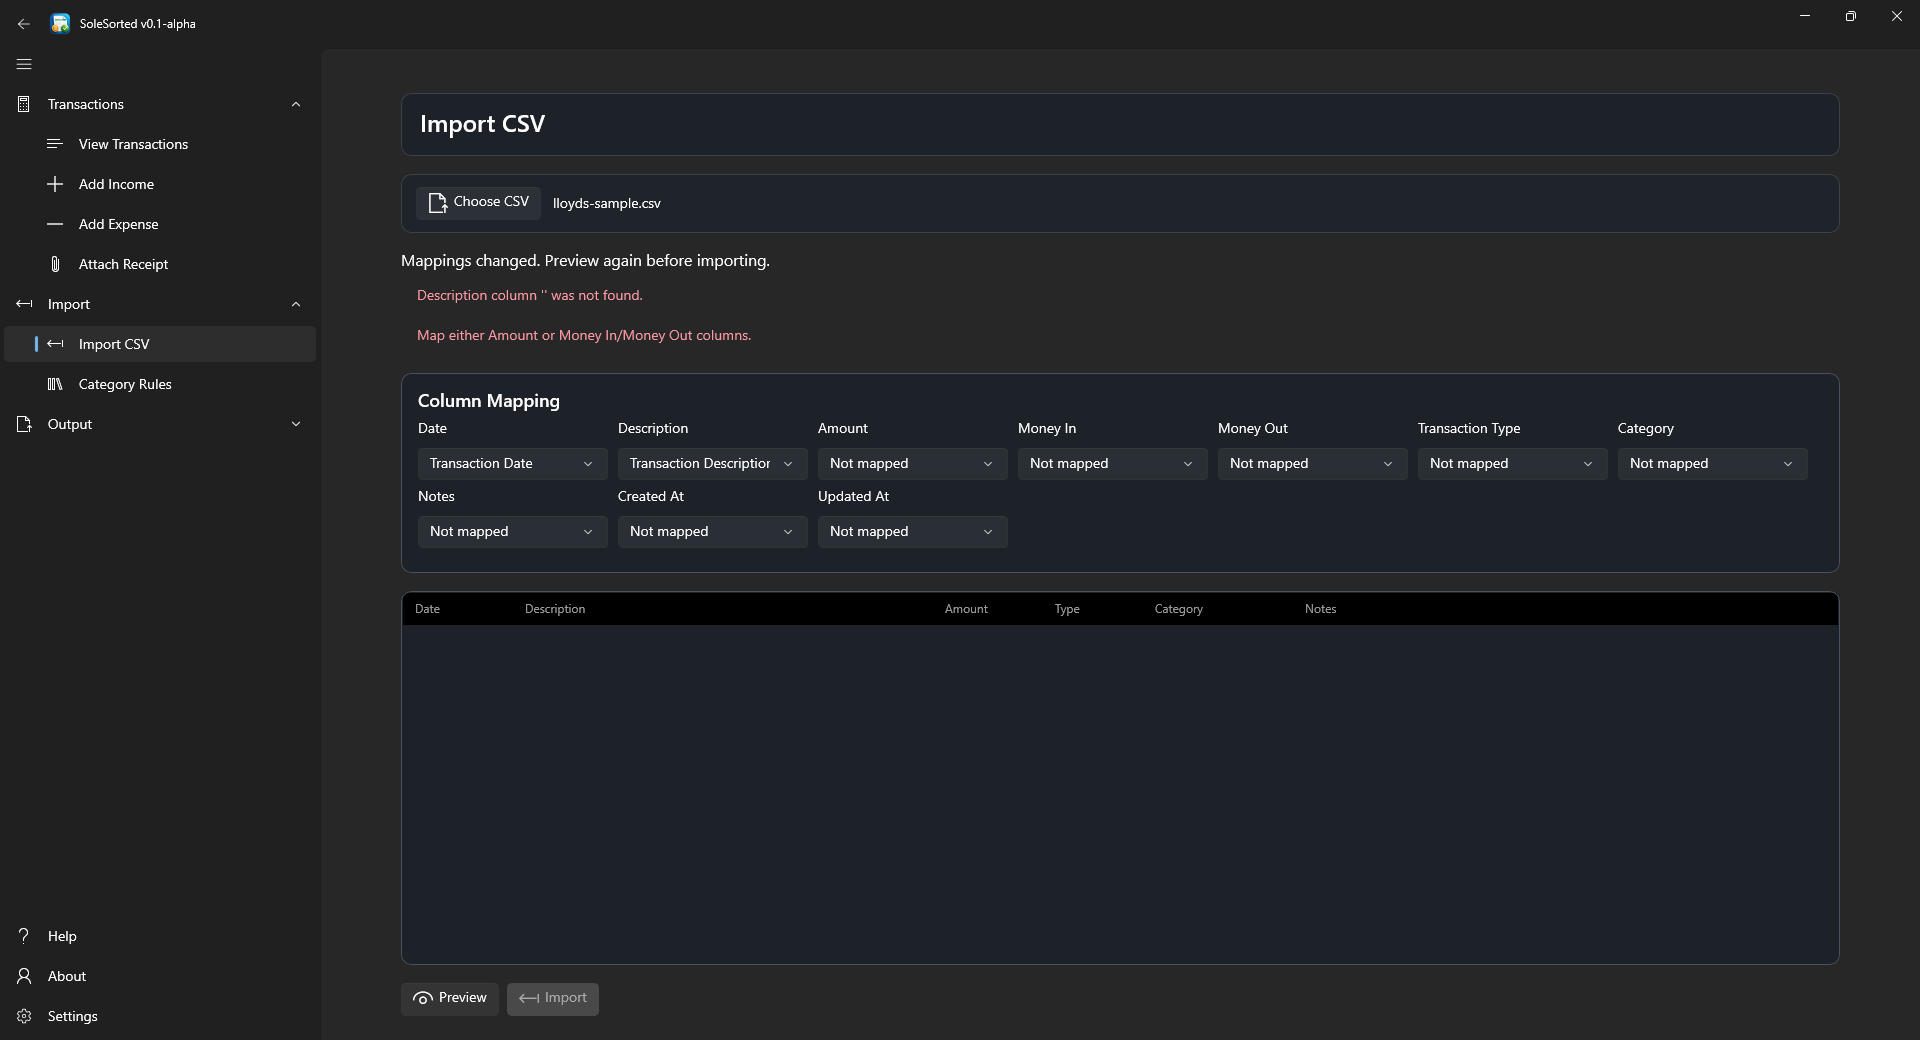
Preview before importing
Click Preview. Check dates, descriptions, amounts, income/expense types and any categories applied by your Category Rules.
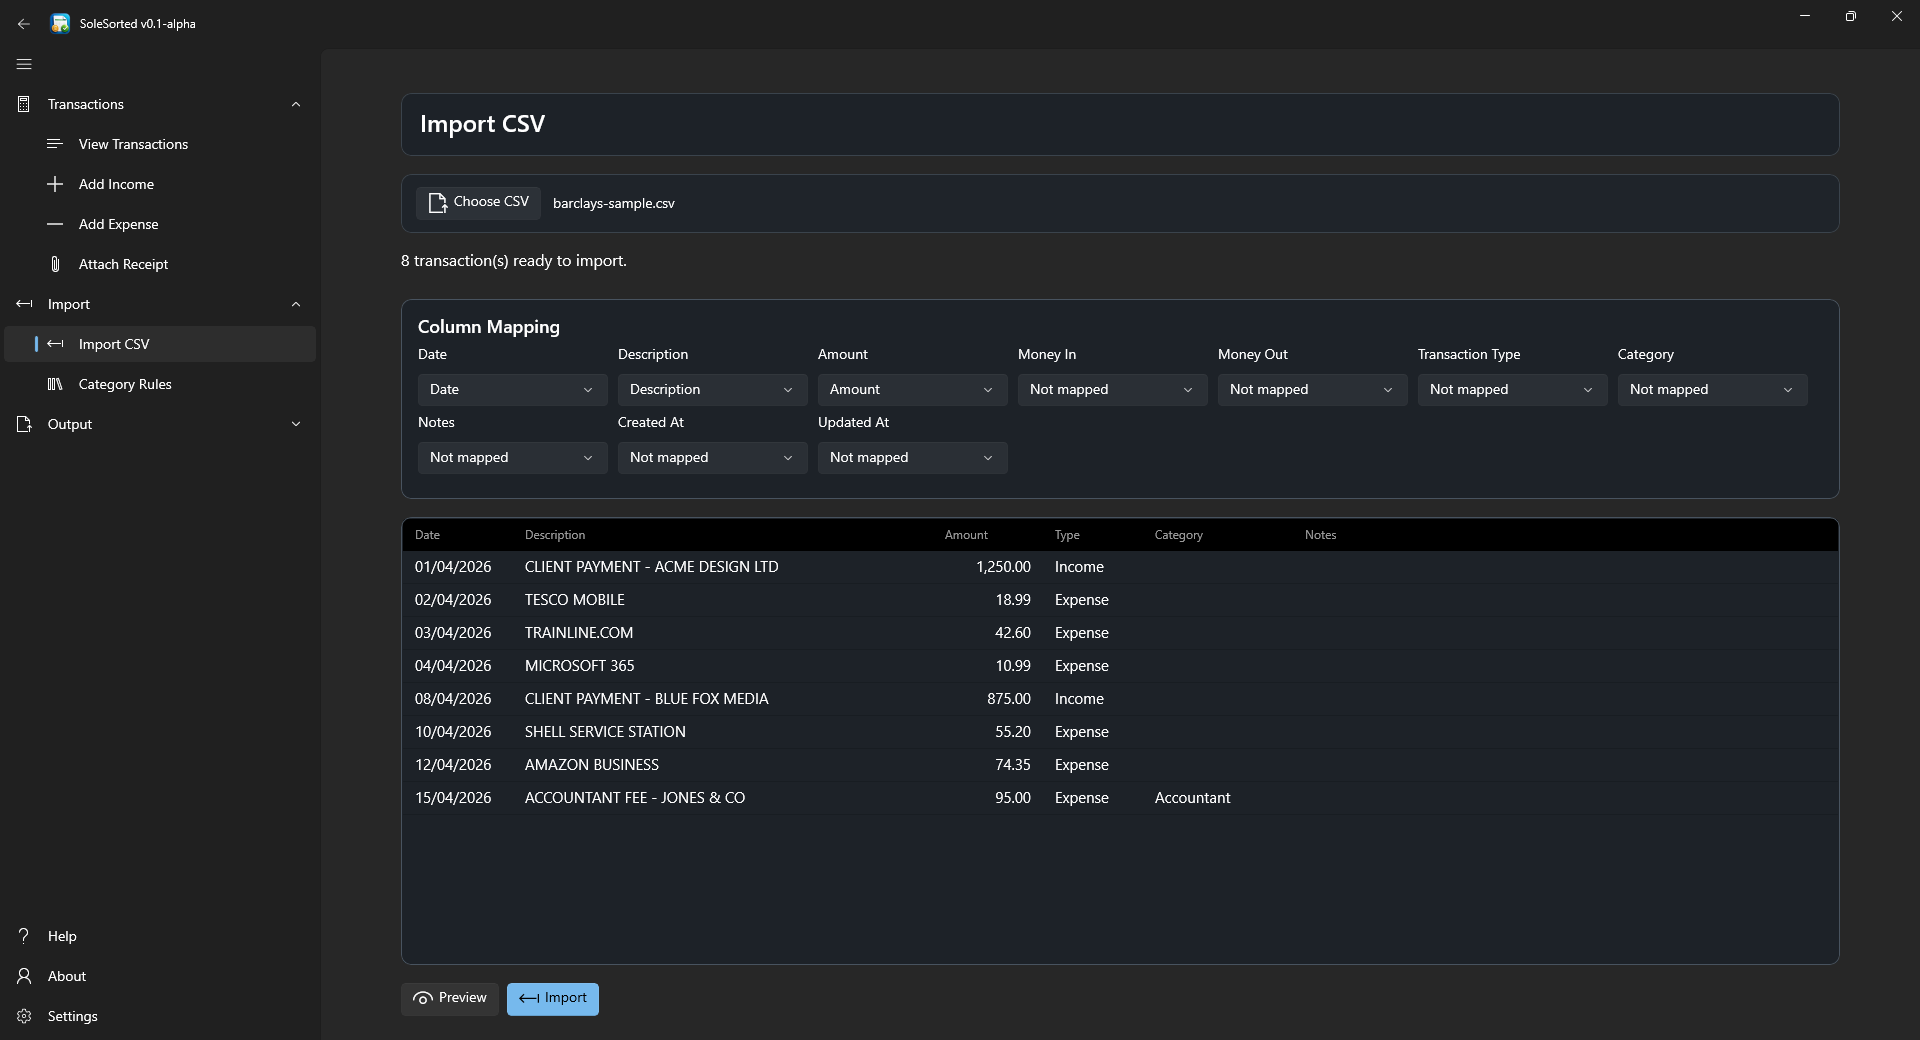
If you change a mapping, run the preview again. Do not import until the preview looks right.
Import the transactions
Click Import. SoleSorted reports how many records were imported and how many likely duplicates were skipped. Review the imported rows in Transactions.
2.5 Create category rules
Category Rules automatically categorise imported transactions by matching their descriptions. Open Import > Category Rules.
Each rule has a match pattern, category, transaction type and active status. Active rules are checked from top to bottom and the first match wins. Put specific rules above broader ones.
For example, place ACCOUNTANT FEE above
FEE. This allows an accountant payment to use its
specific category before the broader bank-fee rule is checked.
| Pattern | Meaning | Example |
|---|---|---|
FEE |
Match the word FEE only |
Matches BANK FEE, not COFFEE |
*FEE |
Match words ending in FEE |
Matches COFFEE |
FEE* |
Match words starting with FEE |
Matches FEES |
*FEE* |
Match FEE anywhere |
Matches COFFEE and ACCOUNTANT FEE |
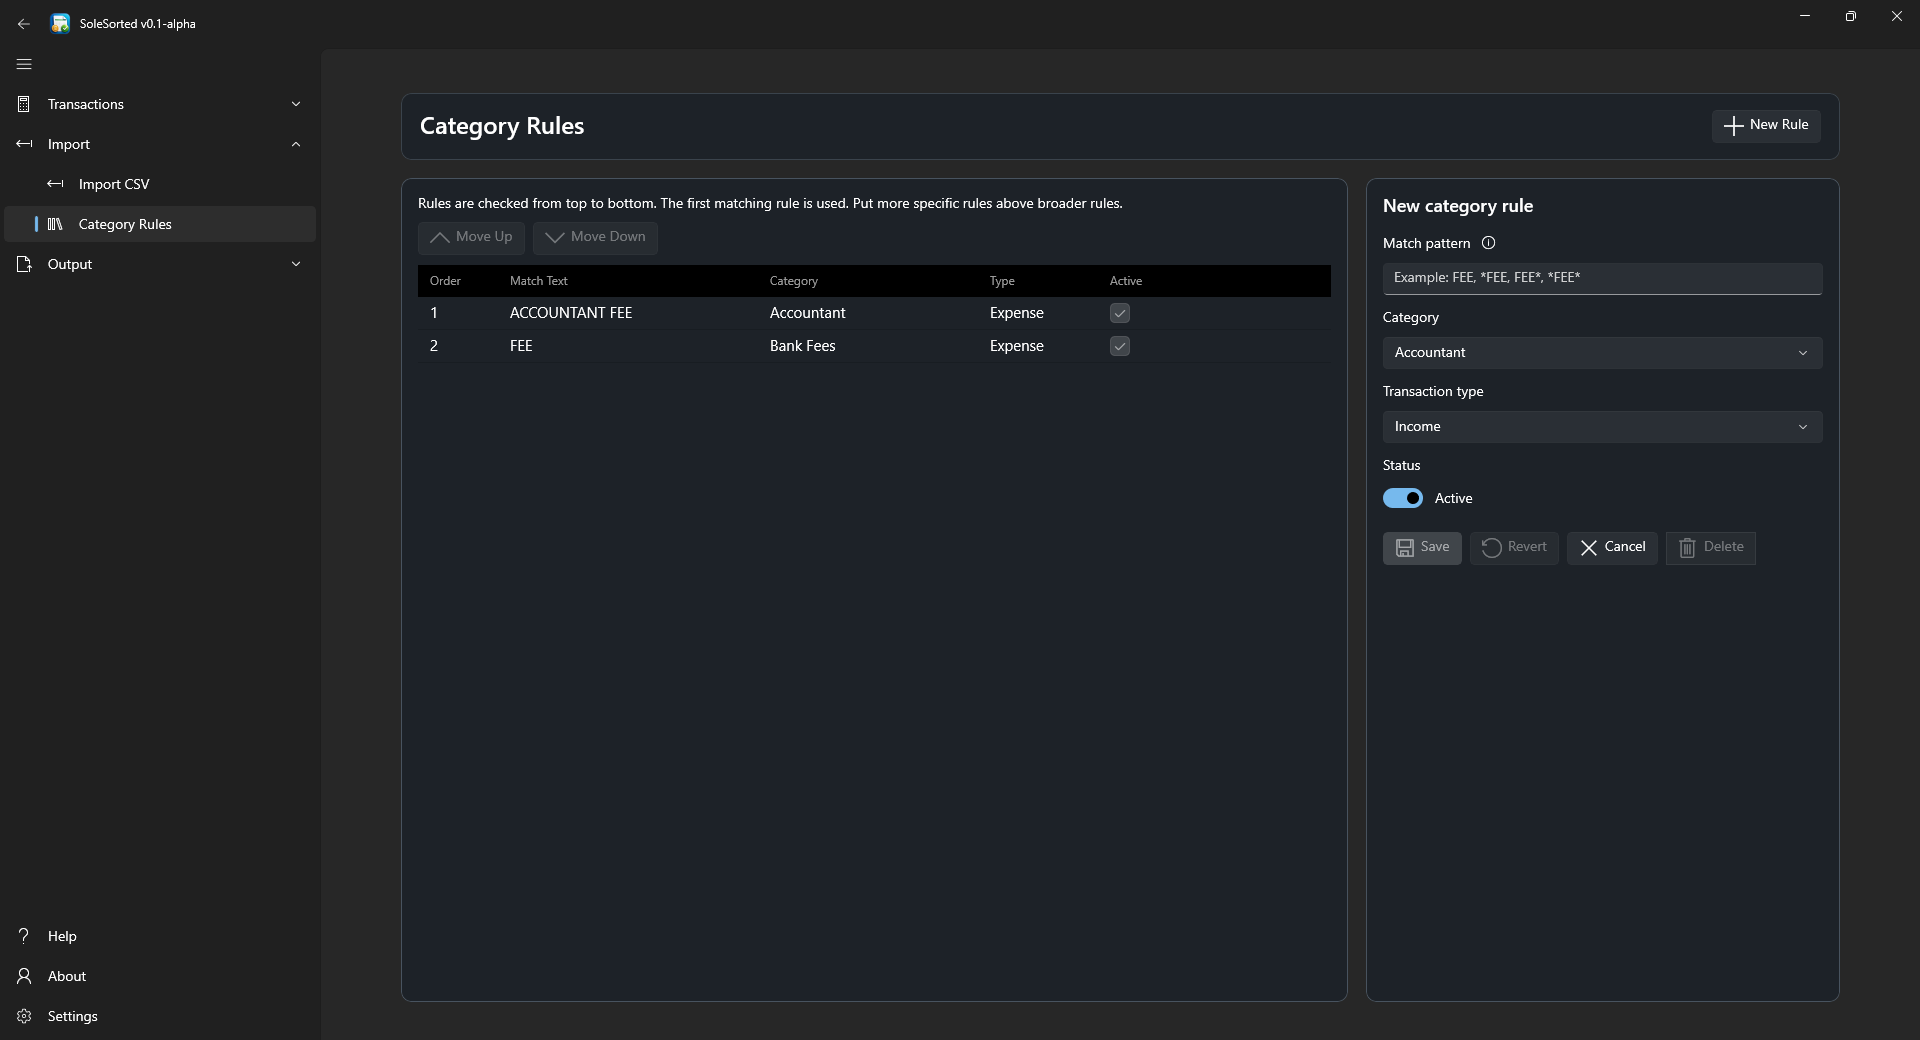
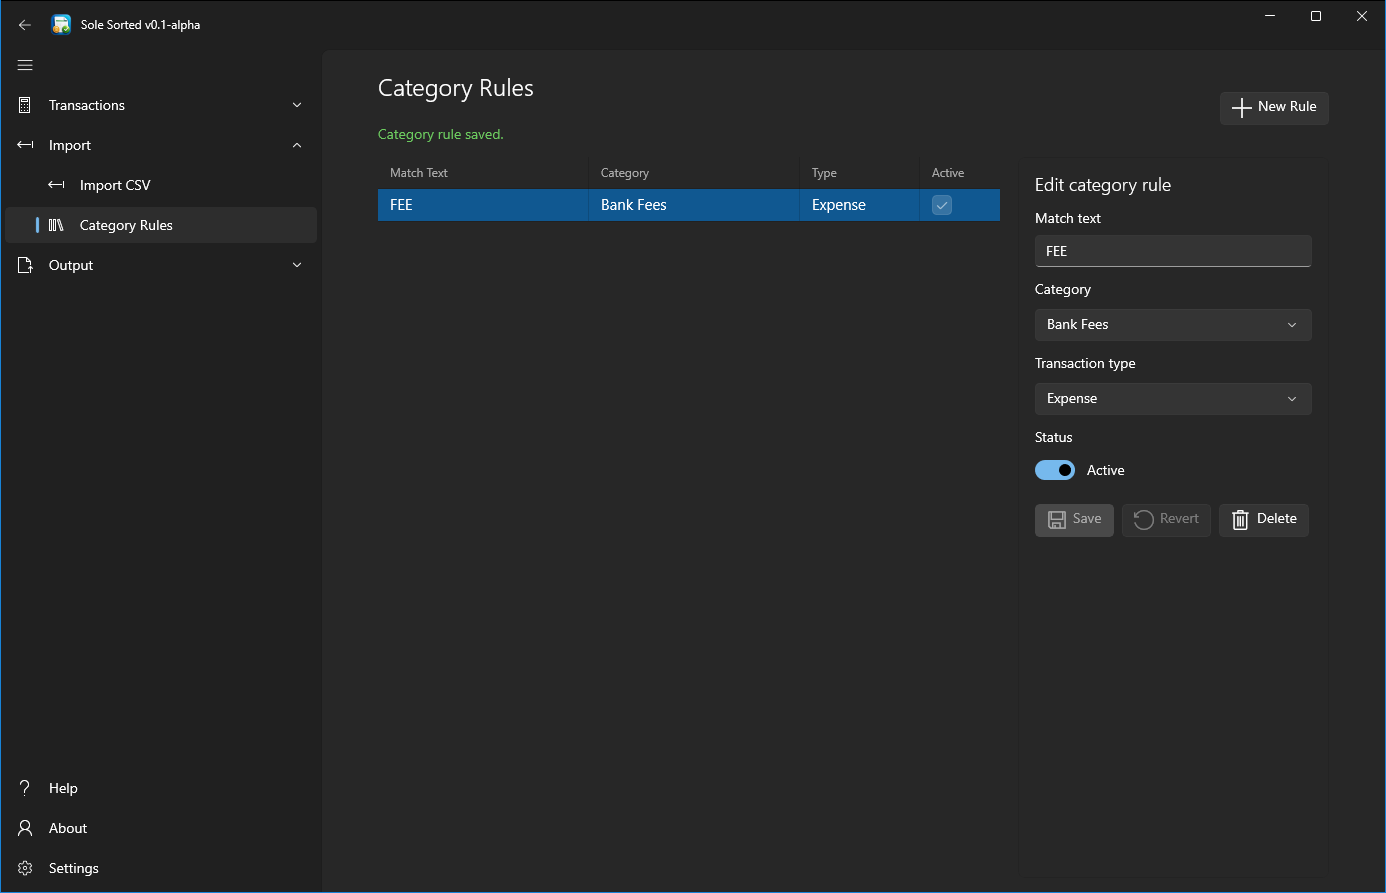
Select a rule to edit it. Use Move Up and Move Down to change its priority, or Delete to remove it.
3. Review, export and fix
3.1 Run a report
Open Output > Reports. Choose the tax year and reporting period, then click Run Report. Use a preset period or enter a custom From and To range.
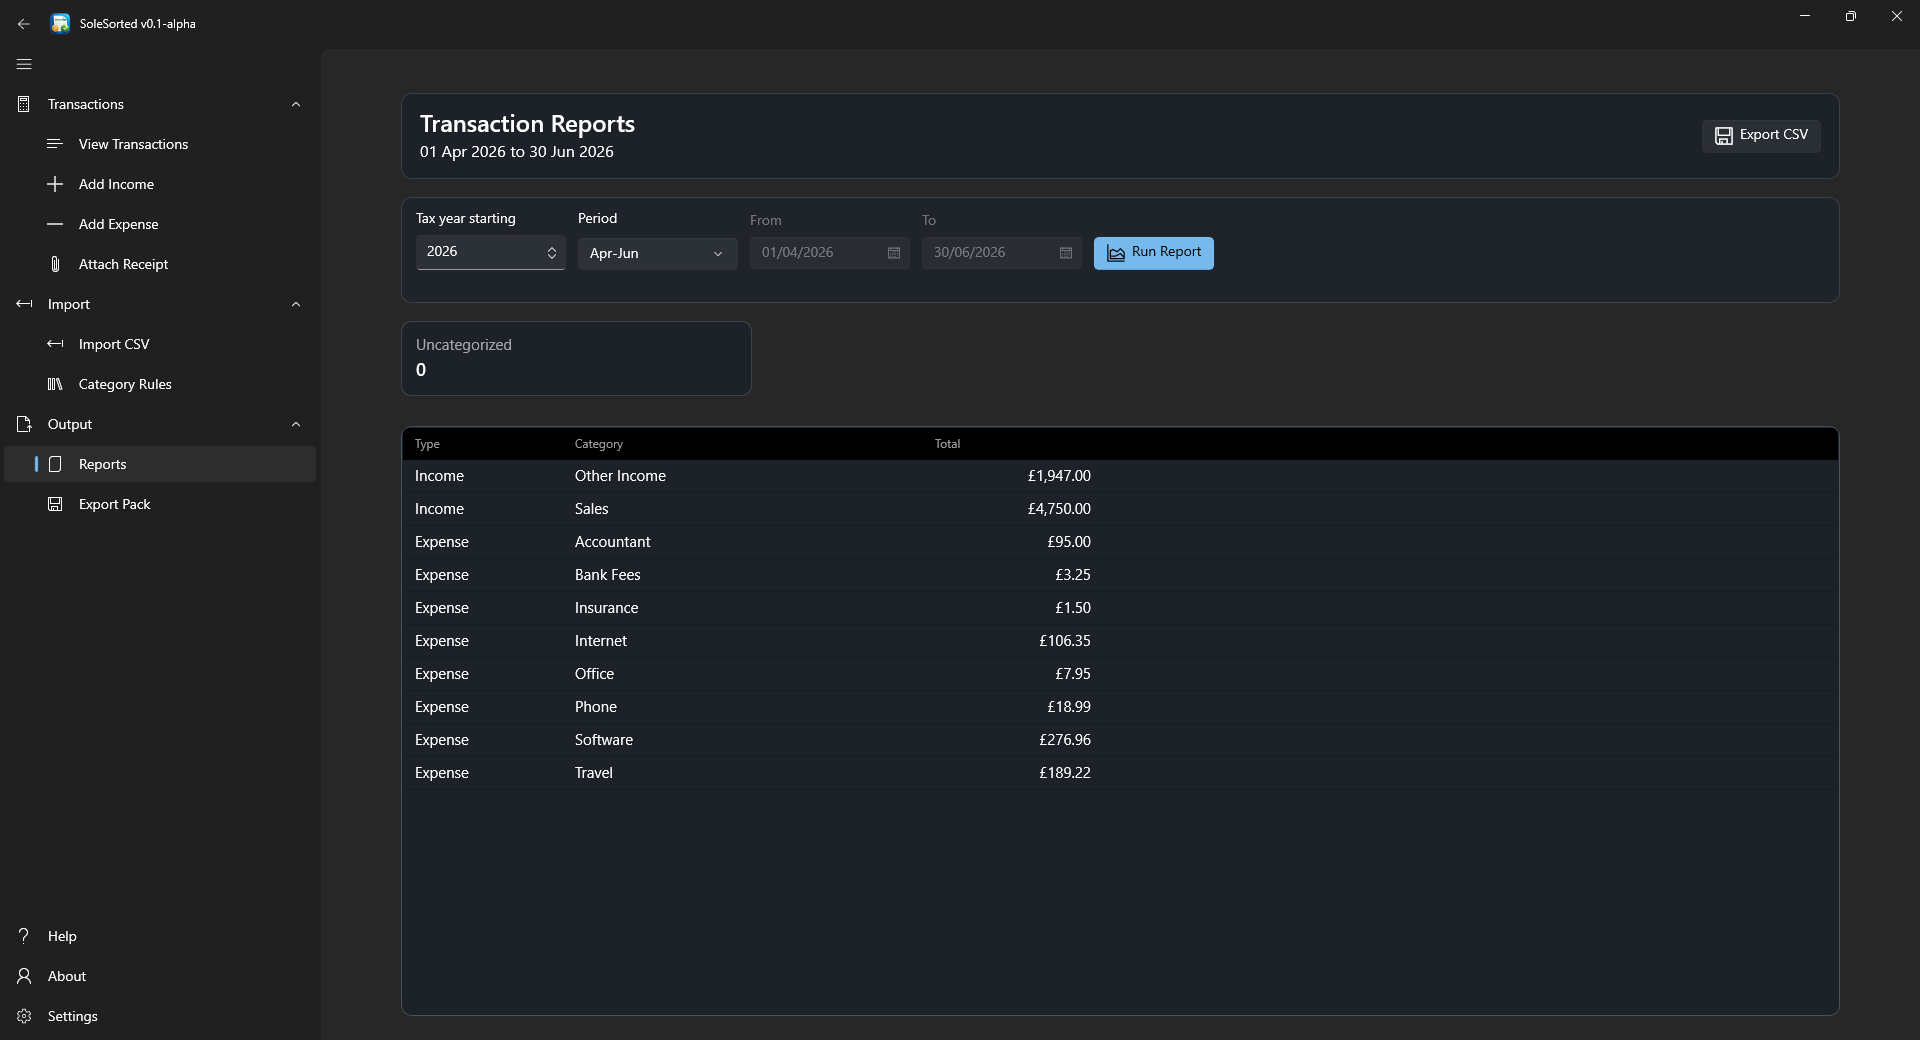
Check the Uncategorised value before exporting. A non-zero total usually means that some transactions still need a category or a better Category Rule.
Click Export CSV to save the report data. SoleSorted confirms the file name after a successful export.
3.2 Export an accountant pack
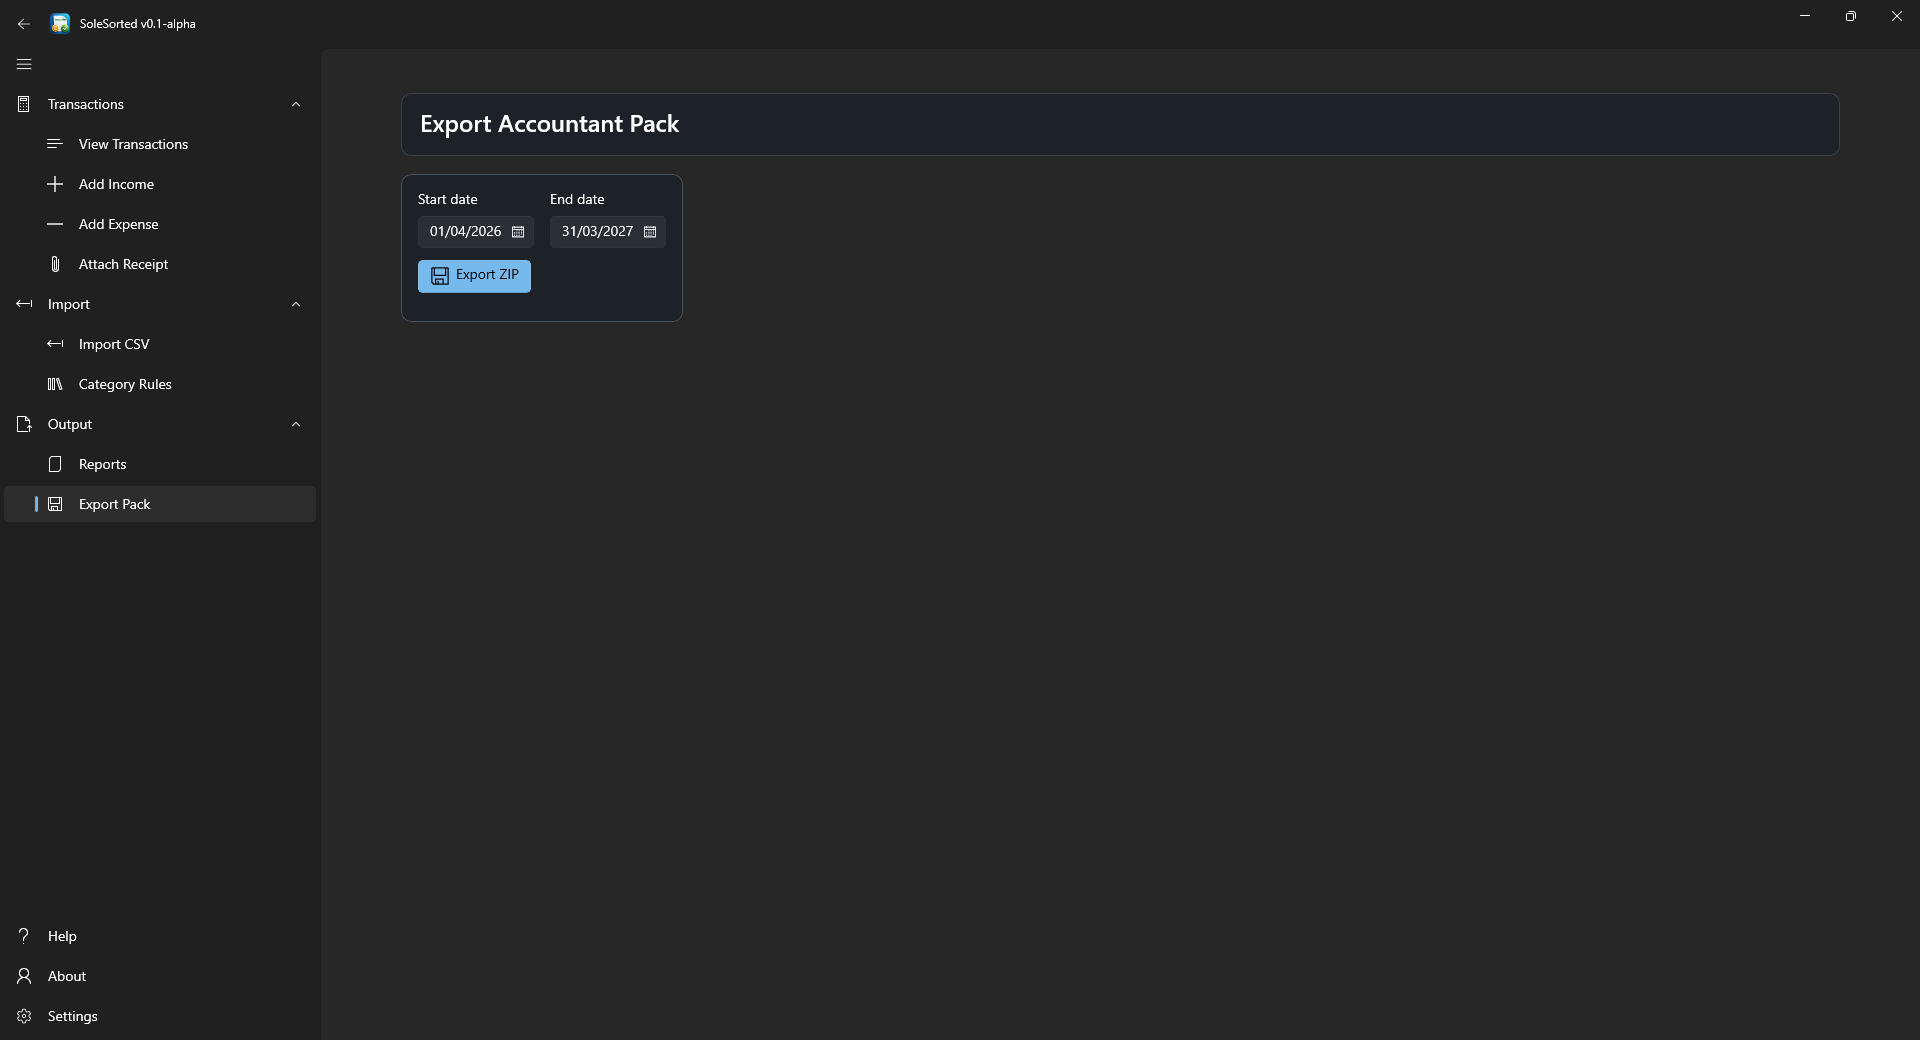
Open Output > Export Pack. Choose the start and end dates, click Export ZIP, then select where to save the pack.
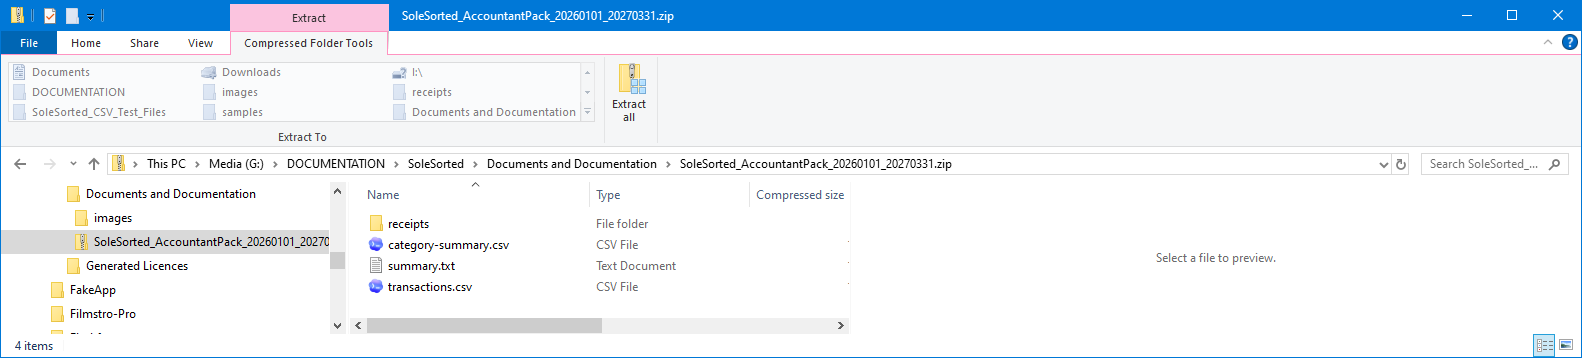
The ZIP contains accountant-ready files such as:
transactions.csvcategory-summary.csvsummary.txt- A receipts folder for the selected records
Keep the ZIP as an archive or pass it to your accountant. SoleSorted organises the records; it does not replace professional accounting or tax advice.
3.3 Help and About
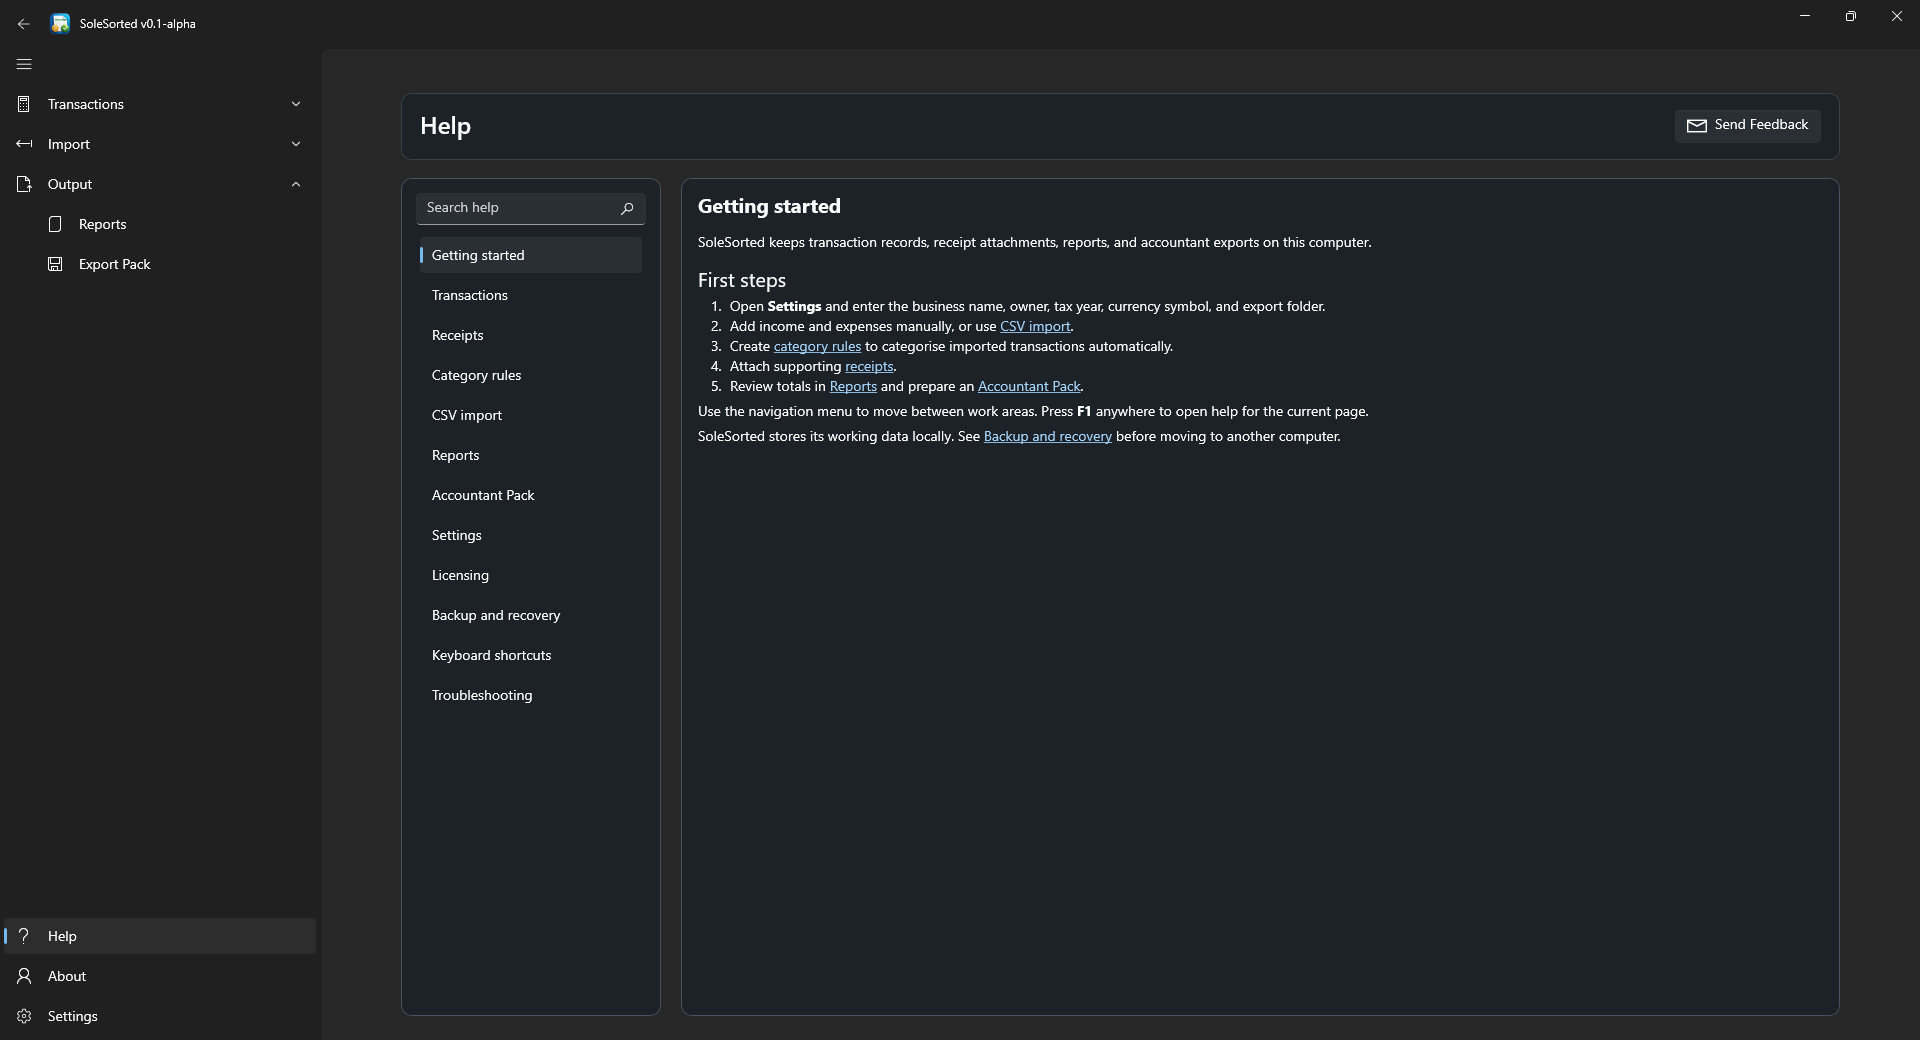
Open Help from the lower-left navigation area for built-in guidance, searchable topics and the link to this online documentation.
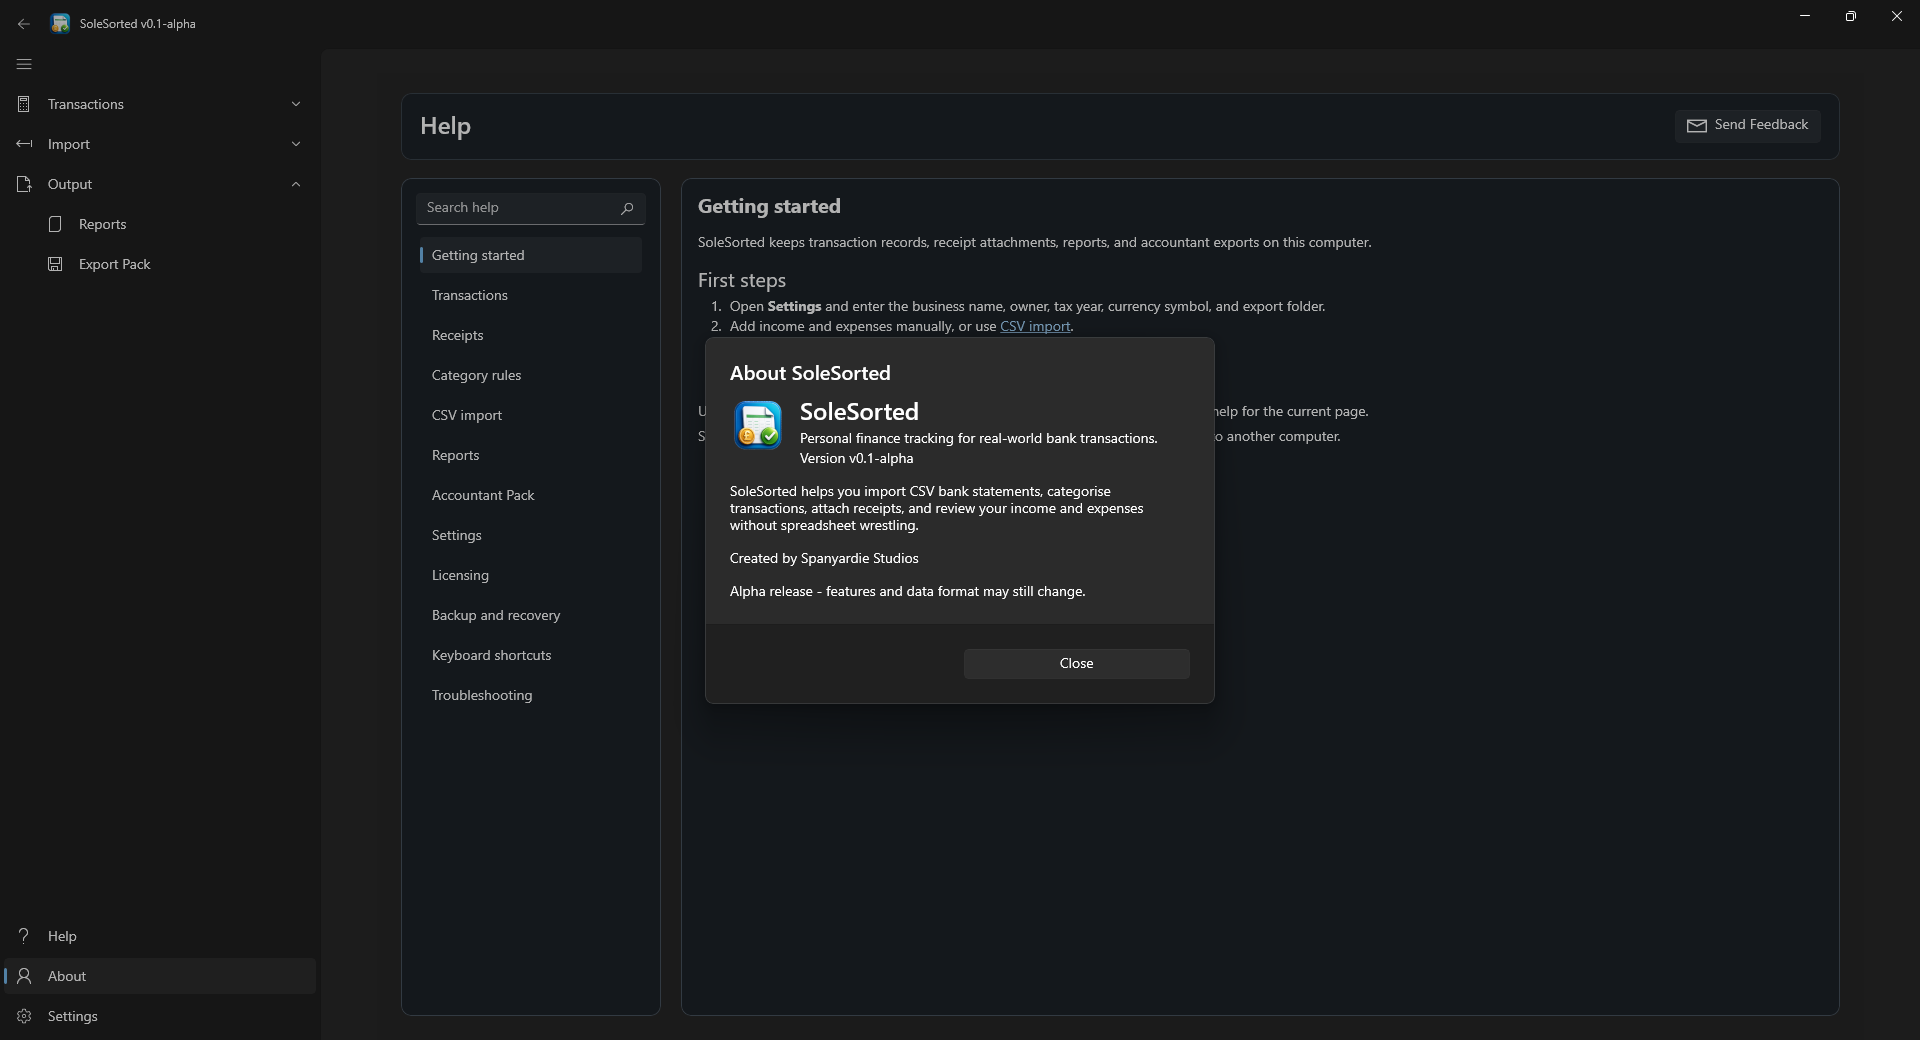
About shows the app name, installed version and Spanyardie Studios credit.
3.4 Troubleshooting
The installer is blocked by Windows
Right-click SoleSortedSetup.msi, open
Properties, tick Unblock if shown,
and click OK. Then run the installer again. See
Download and install.
The CSV preview is empty
Check that Date, Description and either Amount or Money In/Money Out are mapped. If you changed a mapping, click Preview again. See Import a bank CSV.
My bank uses separate Debit and Credit columns
Map Debit to Money Out and Credit to Money In. Leave Amount unmapped unless the CSV also contains a single signed amount column.
My bank uses one signed amount column
Map that column to Amount. Leave Money In and Money Out unmapped unless the source file genuinely needs them.
A transaction was categorised incorrectly
Review Category Rules. Rules are checked from top to bottom, so place specific patterns above broad patterns. Also check whether the wildcard pattern is wider than you intended.
Transactions were skipped as duplicates
Check whether you already imported the same CSV or bank period. SoleSorted attempts to avoid adding the same transaction twice.
A receipt will not open
Check that the receipt file still exists and that Windows has an application associated with that file type. Receipt controls are covered in Attach and manage receipts.
Where should I back up my data?
Back up the SoleSorted working data along with exported reports and accountant packs. Store the backup in a safe place, at least on a Separate storage device.
Still stuck?
Note what you were trying to do, the exact wording of any error, the SoleSorted version shown in About, and whether the problem can be repeated. That information makes a bug report dramatically more useful.
